Fabric Scrap Collage: Wall Art From Leftover Pieces
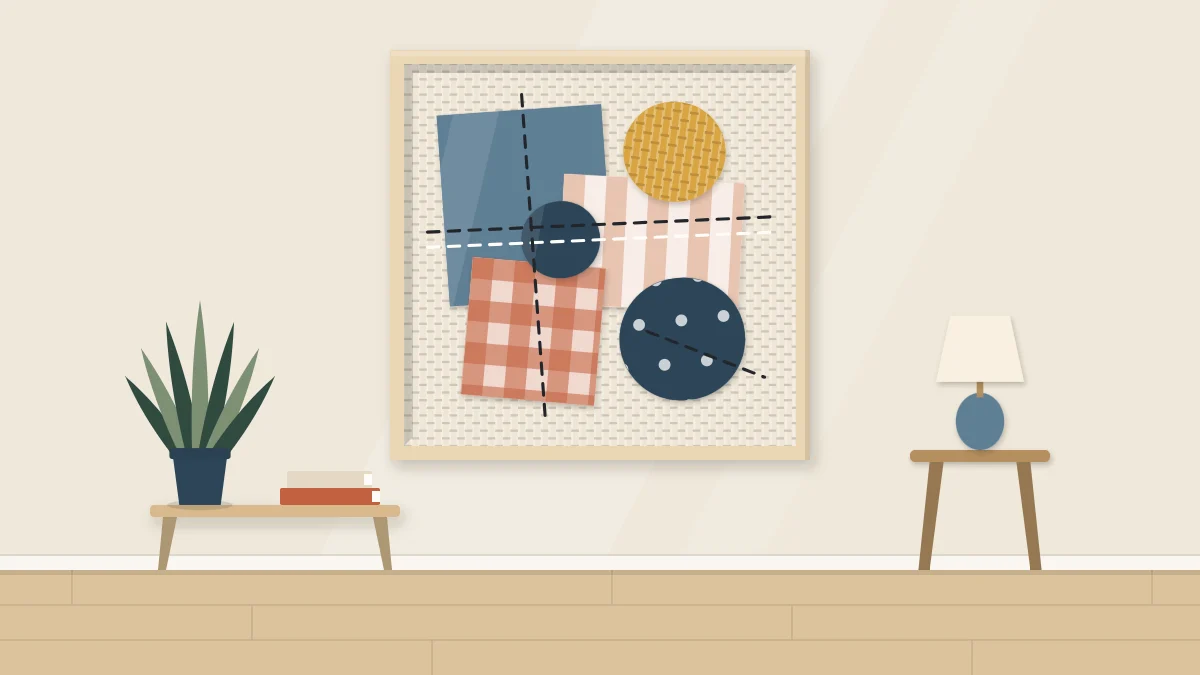
A no-sew textile collage made from leftover fabric: sort scraps by color and value, cut simple shapes, overlap them on a covered board, and fix them with glue or fusible web.
Tutorial at a glance
Materials
- Fabric scraps in related colors
- Mat board or thin wood panel
- Plain background fabric
- Fabric scissors
- Fabric glue or fusible web
- Iron
- Embroidery thread and needle (optional)
Fabric scrap collage wall art turns the offcuts you could not throw away into a finished piece: no sewing machine, no pattern, no hemming. You cut simple shapes from leftover cloth, arrange them with overlap on a fabric-covered board, and fix them down with glue or fusible web.
Frayed, raw edges are part of the look. They soften the shapes and make it obvious that the piece is textile, not print. What needs care is the sorting and arranging, because a pile of unrelated scraps only becomes a composition when color and value are under control.
What you need
- Fabric scraps in a related range of colors
- A rigid board: mat board, foam board or a thin wood panel, about 11 x 14 in (28 x 36 cm)
- A piece of plain background fabric about 2 in (5 cm) larger than the board on every side
- Fabric scissors
- Fabric glue or paper-backed fusible web, plus an iron if you use the web
- Embroidery thread and a needle (optional)
Woven cottons and linens are the easiest scraps to work with. Very thick or very slippery fabrics can be used as small accents once you are comfortable with the process.
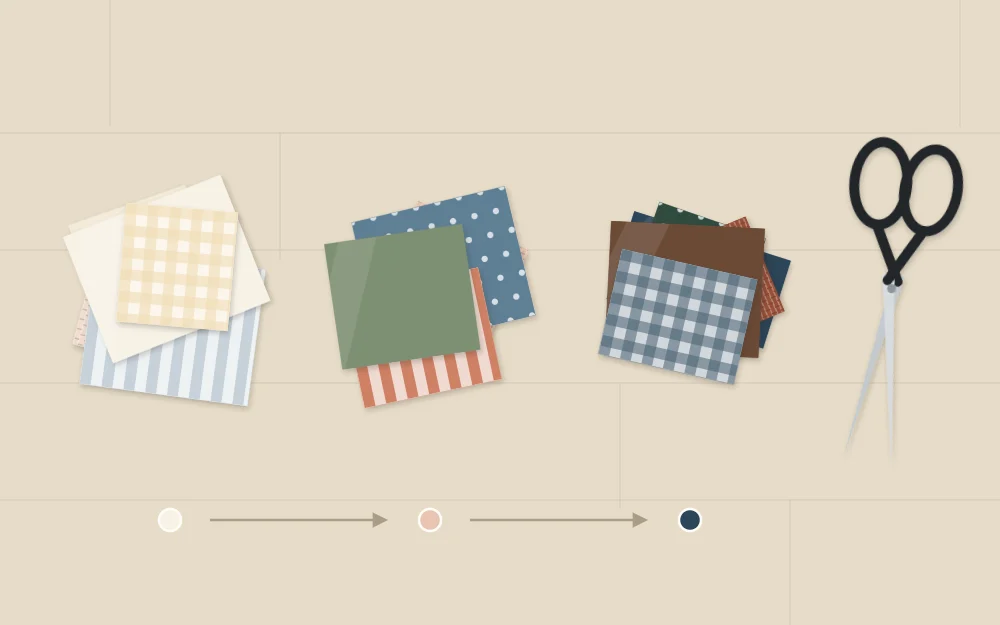
Sort scraps by color and value
Tip all your scraps onto a table and make two passes through them.
First, sort by color family and choose a limited palette: two or three related colors plus a neutral. Set everything else aside for another project. A tight palette is what makes mixed prints and textures sit together.
Second, sort what remains by value, meaning how light or dark each piece is regardless of its color. Make three piles: light, medium and dark. Squinting at the fabric helps, because it blurs pattern and leaves only tone.
A composition needs all three piles. Mostly medium values with a few lights and one or two darks is a dependable balance; the darks become anchors and the lights open the piece up.
Prepare the background
Press the background fabric flat. Plain linen, cotton canvas or calico in a neutral tone lets the scraps stand forward.
Lay the fabric face down, center the board on it, and fold the edges over to the back. Fix them with a thin line of fabric glue or strips of strong tape, pulling gently from opposite sides so the front stays smooth. Fold the corners in before the sides for a flat finish. The fuller wrapping method, with staples and neat corners, is covered in how to stretch fabric over a canvas.
Cut simple shapes
Keep the shapes basic: rectangles, squares, strips, half circles, rounded pebble forms. Simple shapes let the fabric itself, its print and weave, carry the interest.
- Cut freehand. Slightly uneven edges suit the medium better than ruled ones.
- Vary the sizes. Aim for a few large pieces, several medium and a handful of small.
- Cut more than you need. Having spare shapes makes arranging much easier.
- For soft frayed edges on woven fabric, snip the edge and tear along the grain instead of cutting.
Press each shape after cutting. Flat pieces are easier to position and bond more evenly.
Arrange with overlap
Arrange everything dry before any adhesive is involved. The thinking is the same as in paper collage wall art, but fabric gives you one extra tool: thin pieces let a hint of the layer below show through.
- Place the two or three largest shapes first, off-center, so they form a loose group instead of a row.
- Add medium shapes so each one overlaps a neighbor by at least 3/8 in (1 cm). Overlap is what ties separate scraps into one form.
- Position the darkest pieces last and sparingly. Put one near, but not on, the center of the board.
- Leave a margin of bare background around the group, wider at the bottom than at the top.
- Step back, or look at the board through a phone camera, and remove any piece you would not miss.
When the arrangement works, take a quick reference picture so you can rebuild it as you fix pieces down from the bottom layer up.
Tip
Repeat each fabric at least twice in different parts of the board. A print that appears only once tends to look like an accident; twice looks like a decision.
Fix the pieces: fabric glue or fusible web
Both methods are no-sew. Whichever you choose, read the product instructions first, since application and setting times differ from one product to the next.
| Method | How it works | Best for |
|---|---|---|
| Fabric glue | Spread thinly on the back of each shape and press down | Quick work, textured or heat-sensitive fabrics |
| Fusible web | Ironed to the back of the fabric before cutting, then ironed onto the background | Crisp flat shapes and thin fabrics |
With glue, use less than you expect. A heavy layer soaks through thin fabric and dries as a dark, stiff patch. Dot or brush it on, keeping it slightly back from the edges if you want them to lift and fray.
With fusible web, bond it to the scraps first, cut your shapes, peel the paper, and iron the pieces in place layer by layer at the heat setting the web’s instructions give. Test on a spare scrap, and use a pressing cloth to protect the iron and the fabric.
Add running stitches as line
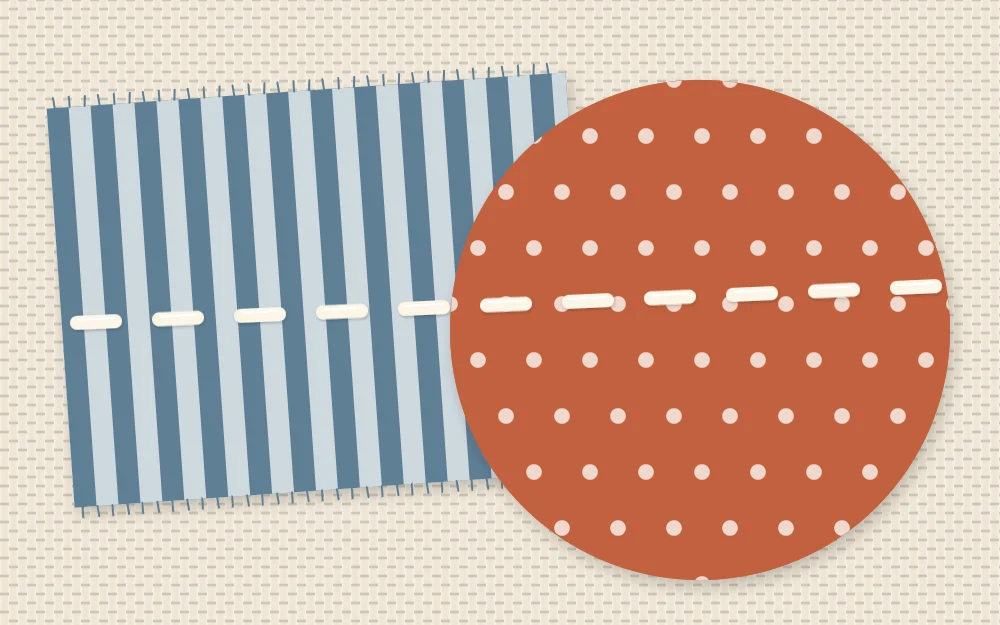
Stitching is optional, but a few rows of running stitch do what a pencil line does in a drawing: they add direction and connect shapes. Use embroidery thread in a color that contrasts with the fabric beneath it.
Push the needle through the fabric and board only if the board is thin enough; with a rigid panel, stitch the shapes before gluing them down, or stitch through the fabric layers alone. Keep the stitches roughly even, about 1/4 in (6 mm) long, and let a row travel across two overlapping shapes to link them.
Finish and display
Let all adhesive set fully according to its label, then trim any long loose threads while leaving the soft fray intact. The board can go into a frame without glass, which keeps the texture visible, or into a deep frame with glass if dust is a concern.
For hanging, weigh the finished piece, check what your wall is made of, and choose hardware that the manufacturer rates for that weight and wall type, following the package instructions.
Small collages also suit round frames; a composition cut to fit can be mounted using the method in fabric wall art in embroidery hoops.
Frequently asked questions
Do the raw edges keep fraying after the collage is finished?
A piece that hangs on a wall is not handled or washed, so fraying mostly stops once the shapes are fixed down. Adhesive close to the edge limits it further. If a few threads work loose over time, trim them with small scissors instead of pulling.
Should I use fabric glue or fusible web?
Fabric glue is quicker and suits thicker or textured scraps, and it lets edges lift a little. Fusible web gives flatter, crisper shapes and is better for thin fabric that glue might soak through. Many people use both in one piece. Follow each product's own instructions.
How many different fabrics should one collage include?
Five to eight is a comfortable range for a small board. That is enough for variety in print and texture while still letting you repeat each fabric at least twice. Keep them within two or three related colors plus a neutral, and include light, medium and dark values.