DIY Wall Art for Beginners: How to Choose Your First Project
Not sure where to start? Compare the paper, paint, texture and fabric routes by wall, time, mess and tools, then follow a short decision path to a first project that suits you.
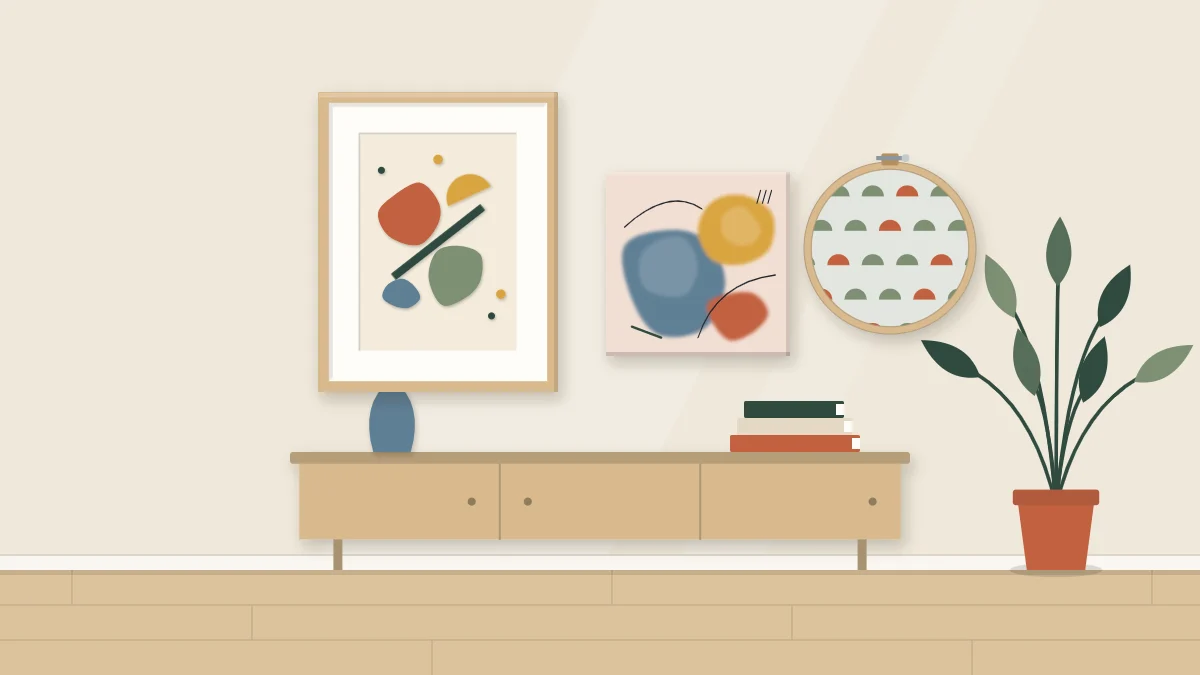
Most advice on DIY wall art for beginners starts with a project. A better place to start is the wall itself, the time you have, and how much mess you are willing to clean up. Answer those three questions and the right first project usually picks itself.
This page is a map, not a tutorial. It compares the four main routes, paper, paint, texture and fabric, and gives you a short path for deciding between them. Each route leads to its own step-by-step guide once you know which one fits.
Start with the wall, not the craft
Stand where you normally see the wall from: the sofa, the doorway, the desk chair. Notice three things.
- How big the empty space is. A narrow strip beside a door wants something small and vertical. A wide stretch above a sofa wants one larger piece or a small group.
- What the light does. Side light from a window flatters raised texture and layered paper. A dim corner does more for strong color contrast than for subtle relief.
- What is already nearby. A busy patterned rug or curtain calls for a quiet piece. A plain room can take something bolder.
For a first project, choose a small space. A piece around 8 x 10 in (20 x 25 cm) or 12 x 12 in (30 x 30 cm) uses little material, dries quickly and is easy to redo if the first attempt disappoints you.

Be honest about time and mess
Projects fail more often from poor planning than from lack of skill. Two questions prevent most of that.
How long can the work sit out? Paper and fabric projects can be packed into a folder and picked up again next week. Paint and texture paste need a flat, undisturbed surface while they dry, and each layer has to dry before the next one goes on. Drying times vary by product, so check the label and treat any figure as approximate.
How much cleanup can you face? Cutting and gluing paper leaves scraps and little else. Acrylic paint means a covered table, water jars and brushes to wash before the paint sets. Texture paste is the messiest of the four and the hardest to remove from fabric and carpet.
The four routes compared
Nearly every beginner project falls into one of four families. Here is how they differ in practice.
| Route | Mess and drying | Basic tools | Best first project |
|---|---|---|---|
| Paper | Low mess, almost no waiting | Scissors, glue stick, heavy paper | Cut or torn shapes in a frame |
| Paint | Medium mess, wait between layers | Acrylic paint, two brushes, small canvas | Two flat color fields with one accent |
| Texture | High mess, longest drying | Paste, palette knife, canvas panel | A thin combed pattern in one color |
| Fabric | Low mess, no drying | Fabric scissors, hoop or frame, fabric | One fabric stretched in a hoop |

Paper
Paper is the most forgiving route. Shapes can be moved around for as long as you like before any glue touches them, and a mistake costs one sheet. The finished piece is flat and light, and it looks most complete behind a mat in a frame.
Paint
Paint gives the biggest result for the least material, and acrylic can be painted over once dry, so a weak first layer is rarely the end. The trade is patience: rushing wet layers is what turns clean color muddy.
Texture
Raised texture looks impressive and hides wobbly lines, because the shadows do the drawing. It asks for the most drying time and adds weight to the piece, so it is a better second project than a first one.
Fabric
Fabric suits anyone who would rather choose than draw. The pattern and weave are already there; your job is selecting, tensioning and trimming. Nothing needs to dry, and a piece can be finished in one sitting.
A simple decision path
- Check what you already own. Scissors and glue point toward paper. A box of leftover fabric points toward a hoop. Buying a full set of paints for a first try is rarely necessary.
- Match the route to your time. One free evening: paper or fabric. A weekend with a table you can leave covered: paint. Several days of drying space: texture.
- Match the route to your mess tolerance. If the only work surface is the dining table, pick a dry route.
- Pick the smallest version. One small piece, two or three colors, basic shapes you sketch yourself.
- Decide the finish before you begin. Know whether the piece will be framed, leaned on a shelf or hung as it is, because that sets the size and the surface.
Keep the first piece small and limited
Three limits make a first project far more likely to work.
- Few colors. Two colors plus white or a neutral is plenty. The guide to planning a color palette from your room shows how to choose them so the piece belongs on that wall.
- Few shapes. A curve, a circle and a band will carry a whole composition. Sketch your own on scrap paper first; three quick thumbnails are enough to see which arrangement feels balanced.
- Few tools. The starter kit of wall art supplies lists what is worth owning from day one and what can wait.
Tip
Make two small versions side by side instead of one. The second is almost always better, and you will have a spare to lean on a shelf.
What to expect from a first attempt
A first piece will have a line that drifted or a color that came out darker than planned. Seen from across the room, most of that disappears. Prop the piece where it will hang and look at it from your usual spot before judging it.
Where to go next
Once you know your route, pick a specific project. The list of twelve easy wall art ideas grouped by material gives a short description of each, what it needs and where it suits, with links to the full guides.
Leaning a finished piece on a shelf or console is a perfectly good way to live with it for a week before committing to a spot. When you do decide to put it on the wall, weigh it, find out what the wall is made of, and choose hanging hardware its manufacturer rates for that weight and wall type, following the package instructions. In a rental, or with a wall you are unsure about, ask the landlord or a professional first.
Frequently asked questions
What is the easiest type of wall art to make first?
Paper and fabric are usually the easiest starting points because nothing has to dry and mistakes are cheap to redo. A few cut paper shapes glued to heavy paper, or one fabric held in a hoop, can be finished in a single sitting with tools most homes already have.
How big should a first wall art project be?
Small is better. Something around 8 x 10 in or 12 x 12 in uses little material and is quick to repeat if you want a second try. Once you are comfortable with the process, the same idea can be scaled up or repeated as a set of two or three.
Do I need to be able to draw to make wall art?
No. Most beginner projects are built from basic shapes such as bands, circles, arches and simple curves, which you can trace around household objects or cut freehand. Choosing colors and arranging shapes with some empty space around them matters far more than drawing skill.