Simple Canvas Wall Art: A Two-Color Project for Beginners
Paint a complete first canvas: two flat color fields divided by a soft curve, with one small accent shape. Includes priming, mixing enough paint, painting the edges and fixing common slips.
Tutorial at a glance
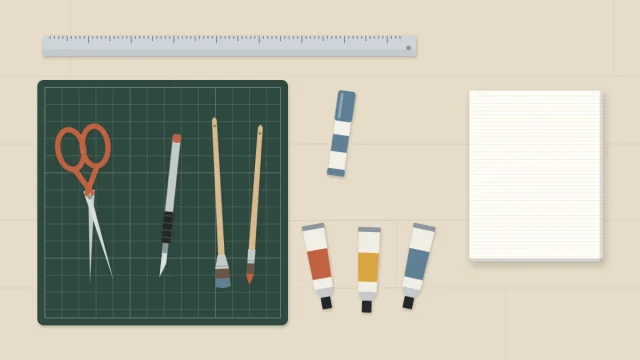
Materials
- Stretched canvas, 12 x 12 in (30 x 30 cm)
- Acrylic paint in 2 colors, plus white
- Flat brush, 1 in (25 mm)
- Small round brush
- Soft pencil and eraser
- Palette, water jars and a rag
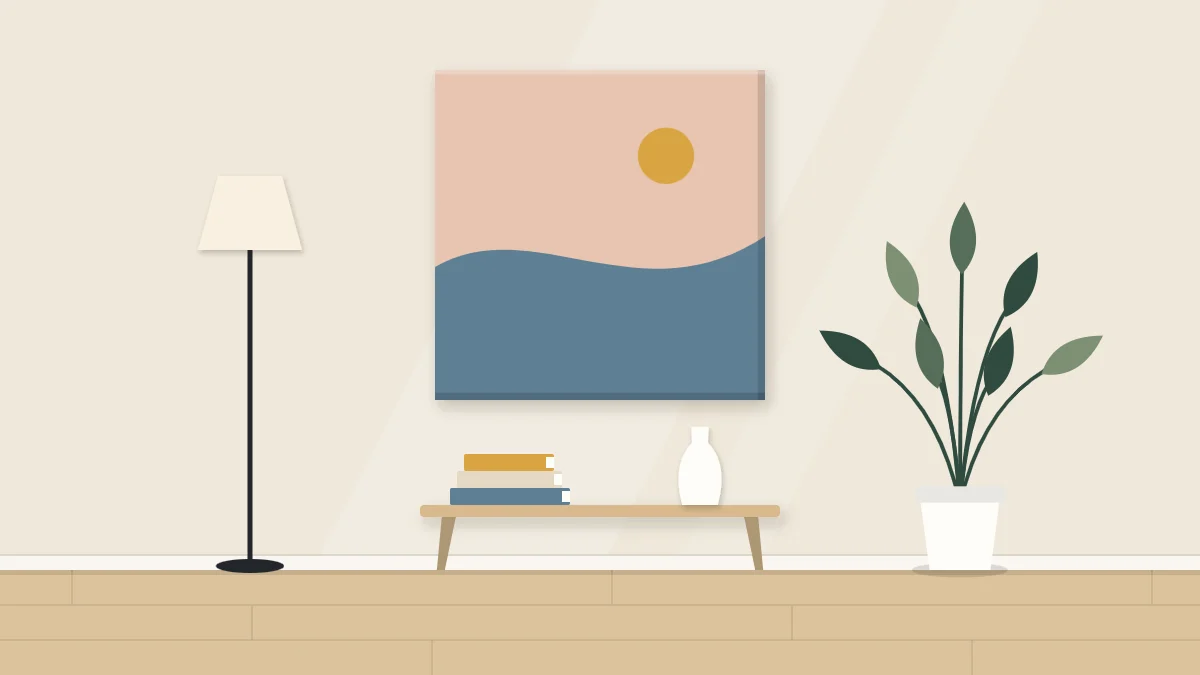
Simple canvas wall art does not need many decisions. This project uses two flat colors, one soft curve where they meet and one small accent shape, on a single square canvas. It is a full first painting from blank surface to finished edges.
The design is yours to draw: where the curve sits, how steeply it rises and where the accent lands are all choices you make in pencil before any paint is opened. Plan for a relaxed afternoon, with breaks while layers dry.
What you need
- One stretched canvas, 12 x 12 in (30 x 30 cm) or close to it
- Acrylic paint in two colors, plus white
- A flat brush about 1 in (25 mm) wide and a small round brush
- A soft pencil, a palette or old plate, two water jars and a rag
- A table cover, and something to raise the canvas off it, such as four jar lids
If you are still building a kit, the starter list of wall art supplies explains each item. For the colors, take one from the room where the piece will hang and pair it with a lighter or quieter partner; the guide to planning a color palette shows how to test a pair on scrap first.
Prepare the canvas
Most ready-made stretched canvases are sold already primed, usually stated on the wrapper. If yours is primed, wipe off any dust and begin. If it is raw fabric, or the label does not say, brush on a coat of acrylic primer (often sold as gesso) and let it dry as the label directs.
Rest the canvas on the jar lids so the edges hang clear of the table. That lets you paint the sides without gluing the canvas to the table cover.
Draw the curve and place the accent
Lightly pencil one line from the left edge to the right edge. A few pointers help it look intentional:
- Keep the line away from the exact middle. Starting about a third of the way up one side and finishing a little higher or lower on the other gives the two fields different sizes, which is more interesting than an even split.
- Use one slow bend, not a wave. Draw it with your whole arm in a single pass.
- Carry the pencil line around onto both side edges so the division continues there.
Then mark the accent: a circle roughly the size of a large coin, traced around a bottle cap. Place it in the larger field, off center, with clear space around it. Step back, look, and redraw until the balance feels right. Pencil erases; paint is slower to undo.
Mix more paint than you think
Mix each color in one generous batch before you start that field. Flat color shows every change in tone, and re-mixing an identical shade halfway across is difficult. A mound about the size of a walnut is a reasonable start for one field on a canvas this size, with a little extra for the edges and touch-ups.
Adding a small amount of white to each color softens it and makes it more opaque. Stir with a palette knife or the brush handle until no streaks remain. If the paint drags, add a few drops of water, not more; thin paint goes on patchy.
Paint the canvas step by step
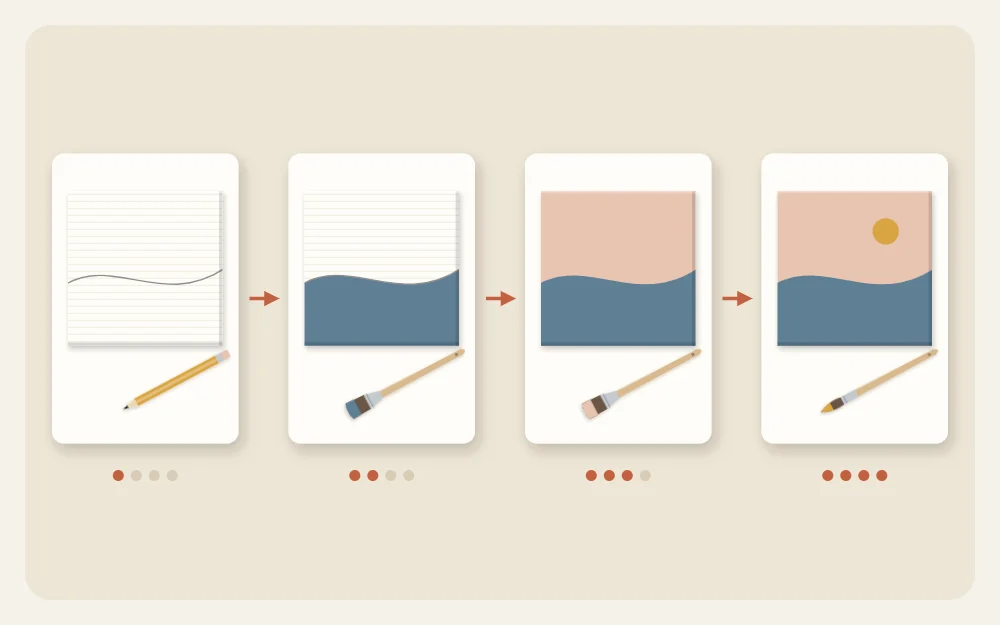
- Paint the lower field. With the flat brush, work from the bottom edge up toward the pencil line in long horizontal strokes. Stop just short of the line.
- Cut in along the curve. Turn the brush onto its thin edge, or switch to the round brush, and draw the paint up to the line in one steady pass. Paint straight over the circle outline if it sits in this field; it goes on later.
- Paint the matching edges. Wrap the same color around the bottom and the lower part of both sides.
- Let it dry. Acrylic is often touch-dry in roughly 20 to 30 minutes, but this depends on thickness and the room, so check the label.
- Paint the upper field. Rinse the brush well, then paint from the top down. At the curve, overlap the dry lower color by a hair so no bare canvas shows between the two.
- Paint the remaining edges. Carry the upper color around the top and the upper part of the sides, meeting the lower color at the pencil mark.
- Add a second coat. Once both fields are dry, repeat with a thinner, even coat. Two thin coats look flatter and richer than one heavy one.
- Add the accent. When everything is dry, re-trace the circle if needed and fill it with the round brush, using the opposite field’s color or white. Work from the center outward and turn the canvas as you go.
Why the edges matter
A stretched canvas has sides that stay visible from across the room. Painting them is what lets the piece be shown without a frame, and bare white sides are the most common sign of an unfinished canvas.
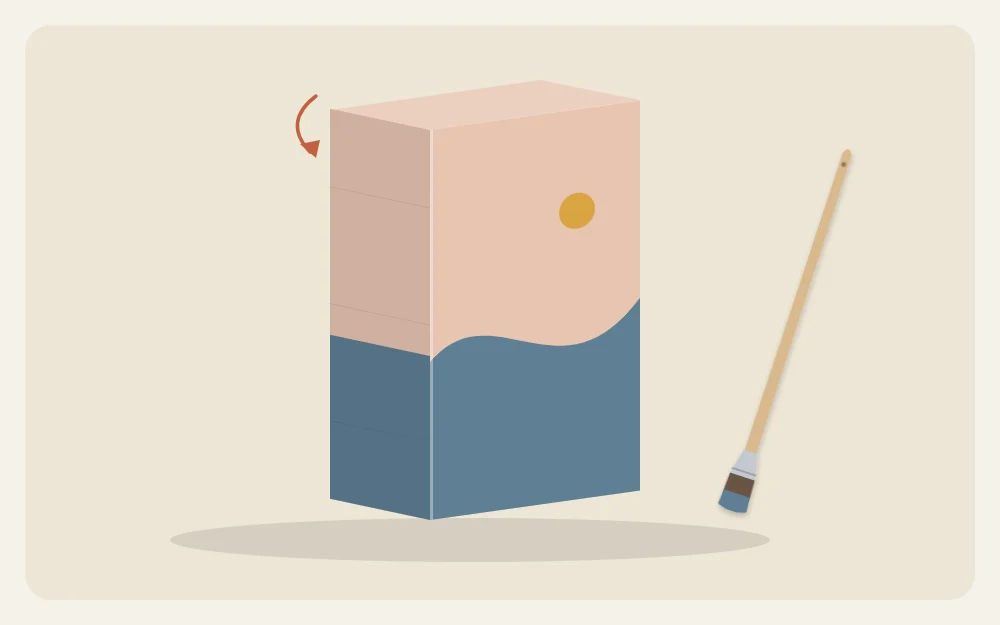
Continuing each field around its sides is the simplest finish. A single dark or neutral color on all four sides also works and gives the look of a thin frame.
Common problems and fixes
| Problem | Likely cause | Fix |
|---|---|---|
| Streaky, see-through color | Paint too thin, or one coat only | Let it dry, then add another thin coat |
| Wobbly curve | Short, hesitant strokes | When dry, repaint the line from the other side |
| Visible ridges | Paint applied too thickly | Smooth with a damp brush while wet |
| Colors mixed at the join | Second field painted too soon | Wait until dry, then recoat both sides |
Tip
Almost every acrylic mistake is solved the same way: stop, let the area dry fully, then paint over it. Fiddling with half-dry paint lifts it and makes the patch worse.
Finishing and next steps
Leave the canvas flat until it is dry all the way through, which takes longer than touch-dry; check the paint label. Erase any pencil that still shows on the sides.
Lean the canvas on a shelf for a few days and see how it sits with the room. To put it on the wall, weigh it, identify the wall material, and pick a hook or nail its manufacturer rates for that weight and wall type, following the package instructions.
If you enjoyed the flat fields and want sharper divisions, color block painting with painter’s tape is the natural next project.
Frequently asked questions
Do I need to prime a store-bought canvas before painting?
Usually not. Most ready-made stretched canvases come pre-primed, and the wrapper normally says so. If the surface is raw, unbleached fabric or the packaging is unclear, apply a coat of acrylic primer and let it dry according to its label before you draw or paint.
How many coats of acrylic paint does a canvas need?
Plan on two thin coats for each color field. Light colors and yellows are often less opaque and may want a third. Let every coat dry before adding the next, and judge coverage in daylight, since thin patches are easier to spot there than under a lamp.
Can I use painter's tape to get the curve clean?
Standard painter's tape is made for straight lines and tends to pucker on a bend. For a gentle curve, a steady freehand pass with the thin edge of a flat brush works better. Any wobble can be corrected from the other side once the first color has dried.