12 Easy DIY Wall Art Ideas for a Free Afternoon
Twelve original, low-skill projects grouped by material, from a two-color canvas to yarn-wrapped shapes, each with what it needs and the kind of wall it suits.
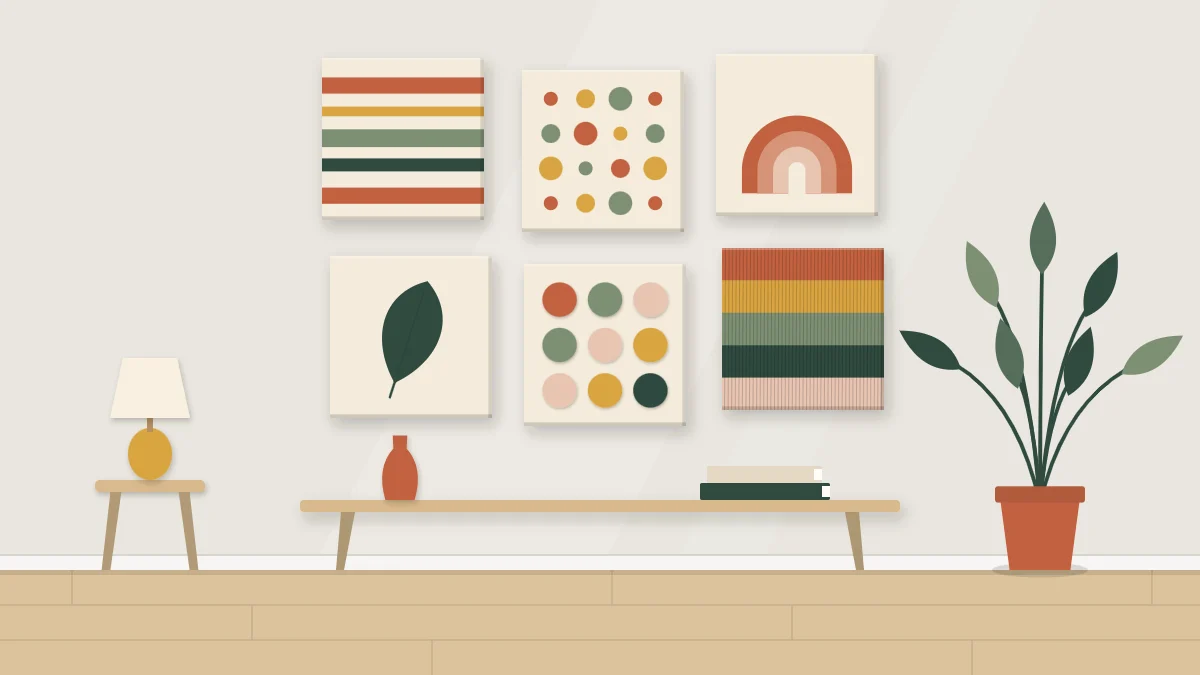
These twelve easy DIY wall art ideas are built from basic shapes, a short list of materials and choices you make yourself. None needs drawing skill, and each can be started and mostly finished in one free afternoon, allowing for glue or paint to dry.
They are grouped by material so you can go straight to what is already in the house. Treat each description as a starting point: change the shapes, the colors and the size until the piece suits your wall.
Before you pick one
Choose two or three colors that already appear in the room, plus white or a soft neutral. A small shared palette is what makes simple shapes look planned, and it lets several small pieces hang together later.
Keep the first version small, around 8 x 10 in (20 x 25 cm) or 12 x 12 in (30 x 30 cm), and sketch your layout on scrap paper before touching the good materials.
Paint ideas
1. Two-color canvas
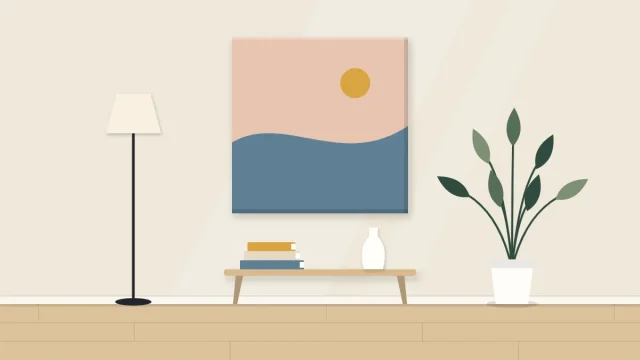
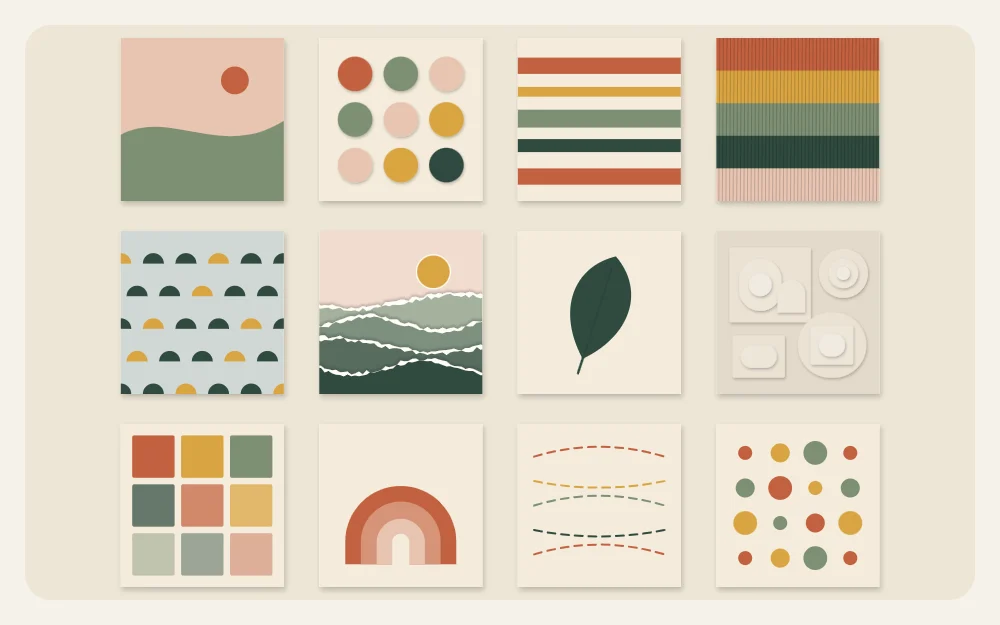
Divide a small canvas into two fields with one gentle curve and paint each side a flat color. Add a single small circle if it needs a focal point. You need two colors, white and a flat brush. It suits a narrow wall or a shelf, and the full method is in the guide to a simple two-color canvas.
2. Taped stripes
Lay strips of painter’s tape across a canvas panel at uneven spacings, press the edges down, paint over everything in one or two colors and peel the tape while the paint is still slightly soft. The unpainted bands become the pattern.
3. Painted dots
Load a round sponge dauber, a cork or the flat end of a pencil with paint and stamp rows of dots on heavy paper. Let the rows drift slightly and vary the pressure so some dots are fuller than others. One color on a tinted background looks calm; three colors look playful. Frame it behind a mat.
4. Arch trio
Paint three arches of different heights side by side, each in a different tone of one color. Trace the tops around a bowl or plate and draw the sides with a ruler. On one wide sheet they make a single piece; on three small sheets they make a set for above a desk or bed.
Paper ideas
5. Paper circles grid
Cut twelve or sixteen circles from cardstock by tracing a glass, then glue them in a grid on a contrasting sheet. Use a ruler and light pencil marks to keep the spacing even. Leave one circle in an accent color, or cut a few in half, to break the pattern.
6. Torn paper hills
Tear strips of paper into long, uneven bands and layer them from pale at the top to dark at the bottom so they read as distant hills. Tearing gives a soft edge that scissors cannot. You need three or four papers in related tones and a glue stick. It suits bedrooms and reading corners.
7. Leaf silhouettes
Fold a piece of paper, draw half a simple leaf along the fold, cut it out and open it for a symmetrical shape. Make five or six in different sizes from your own sketches and arrange them with space between, like a specimen sheet. One color on cream paper keeps it quiet.
8. Color swatch grid
Paint small rectangles of paper in graded mixes of one color, from nearly white to full strength, then trim them to the same size and glue them in rows. It is a useful way to learn mixing and the result is a tidy, modern grid.
9. Stitched paper lines
Mark a row of evenly spaced points along two opposite edges of a sheet of heavy paper, pierce them with a needle over a folded towel, and sew long straight stitches from one side to the other in embroidery thread. Fan the lines or cross them for a simple geometric figure. Tape the thread ends on the back.
Tip
Arrange every loose shape dry before gluing anything, then lift and glue one piece at a time. The guide to composing a paper collage explains how to judge the arrangement.
Yarn, fabric and cardboard ideas
10. Yarn-wrapped shapes
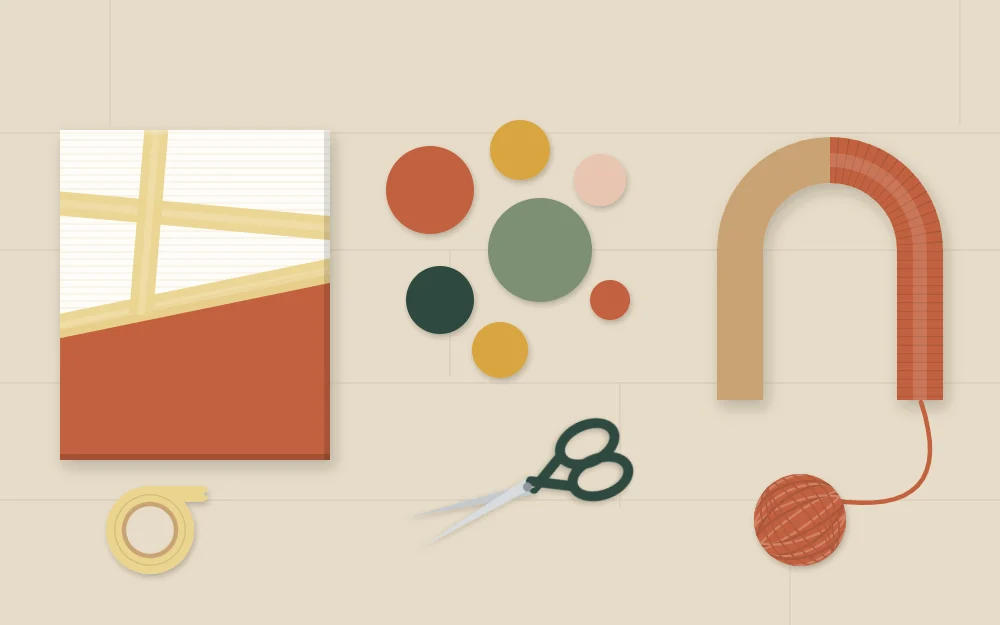
Cut bars or arches from sturdy cardboard and wrap yarn tightly around them in two or three color bands, with no cardboard showing between the wraps. A set of five bars in different lengths works well on a narrow wall. The wrapping and color-change details are in the guide to yarn wrapped wall art.
11. Fabric in a frame
Press a piece of fabric with a simple pattern or an interesting weave, wrap it smoothly around the frame’s backing board, tape it on the reverse and close the frame. Choose the section of pattern you like best by sliding the empty mat over the fabric first.
12. Cardboard relief
Cut rounded and rectangular shapes from corrugated cardboard, stack them two or three layers high on a cardboard base with PVA glue, and paint the whole panel one matte color once the glue is dry. Shadows do the work, so it looks best on a wall with side light.
Match the idea to the room
| If the spot is | Try | Why it works |
|---|---|---|
| Narrow or beside a door | Two-color canvas, wrapped bars | Tall, simple shapes fill a slim space |
| Above a desk or bed | Arch trio, swatch grid | Repeats read as one calm group |
| Lit from the side | Cardboard relief, leaf silhouettes | Raised edges cast soft shadows |
| Already full of pattern | Torn paper hills, stitched lines | Quiet tones and fine lines do not compete |
Making a set from one idea
Almost any of these becomes stronger in a group of two or three. Keep the size, palette and frame identical and change only one thing between pieces: the position of the curve, the number of dots, the order of the colors.
Finishing and displaying
Paper pieces look most complete behind a mat in a simple frame. Canvas and cardboard panels can lean on a shelf or mantel while you decide whether you like them.
When a piece is ready to go up, weigh it and check what the wall is made of. Choose hooks, nails or adhesive strips that the manufacturer rates for that weight and wall type, and follow the package instructions. In a rental or on a wall you are unsure about, ask the landlord or a professional before you start.
Frequently asked questions
Which of these ideas needs the fewest supplies?
The paper circles grid and the torn paper hills need only paper, something to cut or tear with, and a glue stick. Fabric in a frame needs just a frame and a pressed piece of fabric. All three can be made at a kitchen table with no drying mess.
Can children help with these projects?
Many of the steps suit a shared session, such as tearing paper, stamping dots, wrapping yarn and arranging shapes. An adult should handle craft knives and needles and should read the labels on paints and glues for the maker's guidance on use, ventilation and cleanup before starting.
How do I make several small pieces look like they belong together?
Hold three things constant: the palette, the size and the frame or edge finish. Then vary only the motif. Mixing one batch of each color and using it on every piece keeps tones consistent, and equal gaps between the pieces on the wall finish the effect.