Yarn Wrapped Wall Art: Color Bands on Cardboard Shapes
Wrap yarn tightly around cardboard bars and arches to make color-banded wall pieces. Covers cutting stiff shapes, anchoring the yarn, gap-free wrapping and hidden color changes.
Tutorial at a glance
Materials
- Sturdy corrugated cardboard
- Yarn in 3 to 5 colors
- Scissors and craft knife
- Tape and PVA glue
- Pencil and ruler
- Backing board (optional)
Yarn wrapped wall art turns two very ordinary materials, cardboard and yarn, into pieces with strong color and a soft, ribbed surface. You cut a simple shape, wind yarn around it until no cardboard shows, and change color wherever you want a new band to begin.
The technique takes a few minutes to learn. A good result depends on three things: a shape stiff enough not to bend, an anchored starting end, and wraps that sit side by side without gaps or overlaps.
Materials
- Sturdy cardboard. Double-wall corrugated board from a shipping box works well, or two single layers glued together.
- Yarn in three to five colors. Medium-thickness yarn covers quickly and still gives neat lines.
- Scissors and a craft knife with a cutting mat.
- Tape and PVA glue or a glue stick.
- A pencil, a ruler, and round objects to trace for curves.
- Optional: a backing board such as mat board, foam board or a thin wood panel.
Choose your shapes
Shapes with a constant width are the easiest to wrap, because the yarn sits square across them and does not slide. Three sets work especially well:
- Bars. Straight strips of different lengths, hung in a row. The best starting point.
- Single arches. A curved band, like a horseshoe, wrapped from one foot to the other.
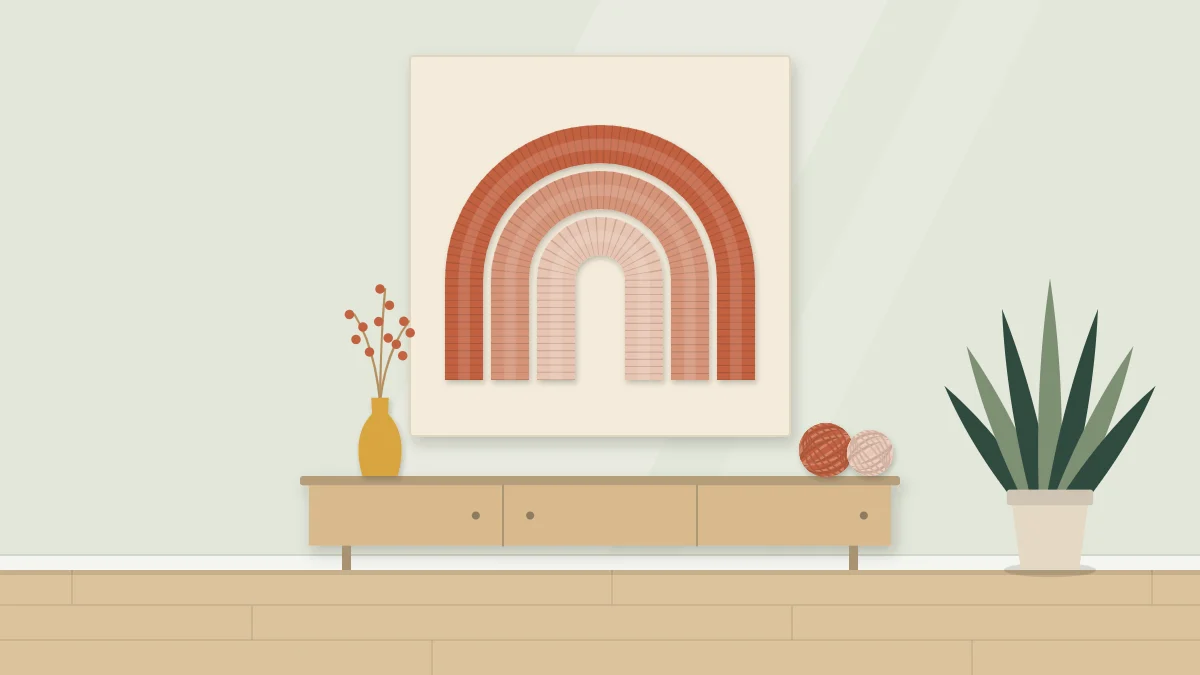
- Nested arches. Three or four arches in decreasing sizes that sit inside one another like a rainbow, each in its own color.
Avoid shapes that taper to a point. Yarn slips toward the narrow end as you pull it tight. If you like arches and circles as a motif, arch and circle wall art shows how to draw and combine them accurately.
Cut sturdy cardboard shapes
Draw your own shapes directly on the cardboard. For bars, rule strips about 1 in (2.5 cm) wide. For an arch, trace around a plate for the outer curve, then draw a second curve about 1 in (2.5 cm) inside it, and extend both ends straight down to form the legs.
For nested arches, draw the largest first and use its inner curve as the guide for the next one, leaving a small gap so the wrapped pieces still fit together. Yarn adds thickness on every side.
Cut straight edges with the craft knife against a ruler, on a cutting mat, cutting away from your hand. Cut curves in several light passes, or with strong scissors. Then test the shape: hold one end and press gently on the other. If it bends easily, glue a second layer to it and let the glue dry. Wrapping tension will bow a weak shape.
Anchor the yarn end
Turn the shape face down. Lay the end of the yarn along the back, pointing in the direction you are about to wrap, and tape it down about 1 in (2.5 cm) from where the wrapping starts. A dab of glue under the tape adds security.
Leave the last 1/4 in (6 mm) at each end of the shape unwrapped for now if you plan to glue the piece to a board, or wrap right to the tip if the ends will show.

Wrap without gaps
- Bring the yarn around to the front and wrap over the taped tail, so the tail is hidden under the first few turns.
- Lay each turn directly beside the last. Push the wraps together with your thumbnail every few turns.
- Keep the tension firm and even. Too loose and the wraps slide. Too tight and the cardboard curls.
- Keep the yarn at a right angle to the edge of the shape as you go.
- Check the front often. A gap is easy to close while it is two turns old and hard to fix later.
Wrapping around a curve
On an arch, the outer edge is longer than the inner edge, so wraps that touch on the inside will spread apart on the outside. Set each turn so it touches its neighbor along the outer edge, and let the yarn overlap slightly on the inner edge. Wider arches with gentle curves are easier than small, tight ones.
Tip
Run a thin line of glue stick along the back of the shape before wrapping. It keeps the wraps from shifting and leaves the front clean.
Change colors on the back
Every join should happen on the back of the shape, where it will not be seen.
- Finish the last turn of the old color so the yarn ends on the back.
- Cut it, leaving a tail of about 1 in (2.5 cm), and tape or glue the tail flat along the back in the direction of travel.
- Tape the end of the new color beside it, pointing the same way.
- Bring the new color to the front and wrap over both tails.
The first turn of the new color should sit tight against the last turn of the old one, so the band edge is a clean line. To finish a shape, cut the yarn on the back, tuck the tail under the last few wraps with the tip of a pencil, and fix it with a dot of glue.
Plan the color bands
Sketch the set on paper and color it before you wrap. A few approaches with your own palette:
- One color per piece, stepping from light to dark across the set.
- Two or three bands per bar, with the band positions shifting from bar to bar.
- A neutral main color with one short accent band on each piece, at a different height each time.

Leftover yarn from a yarn wall hanging is ideal here, and using the same colors for both projects makes them look planned as a pair.
Mount the set
There are two ways to display the pieces.
On a backing board. Arrange the shapes on the board, measure so that the spacing is even, and mark the positions lightly in pencil. Glue each piece down with PVA glue applied to the back, then weight it gently under a book while the glue sets. Check the label for the setting time. A single board is easier to hang straight and can go into a deep frame.
Directly on the wall. Individual pieces are light, and some people fix them with removable adhesive strips or mounting putty. Yarn and cardboard are uneven surfaces, so stick a flat card patch to the back first, weigh each piece, and use a product that the manufacturer rates for that weight and your wall surface. Follow the package instructions, and check with your landlord if you rent.
For more quick projects that use what is already in the house, browse easy DIY wall art ideas.
Frequently asked questions
How do I stop the cardboard from bending while I wrap?
Use double-wall corrugated board or glue two layers together with the flutes running in different directions, and let the glue dry before wrapping. Keep the tension firm but not tight. If a finished piece has bowed slightly, pressing it under a book overnight often flattens it.
How much yarn does a wrapped arch use?
More than it looks, because every turn goes around both faces of the shape. Measure the yarn used for the first inch of wrapping, then multiply by the length of the piece to estimate the total. Chunky yarn needs fewer turns than fine yarn.
Why are there gaps on the outside of my wrapped arch?
The outer edge of a curve is longer than the inner edge, so wraps fan out as they travel around. Position each turn so it touches the last one along the outer edge and let the yarn overlap a little on the inside. A gentler curve or a narrower band also reduces the problem.