Textured Canvas Art: How to Build Raised Patterns
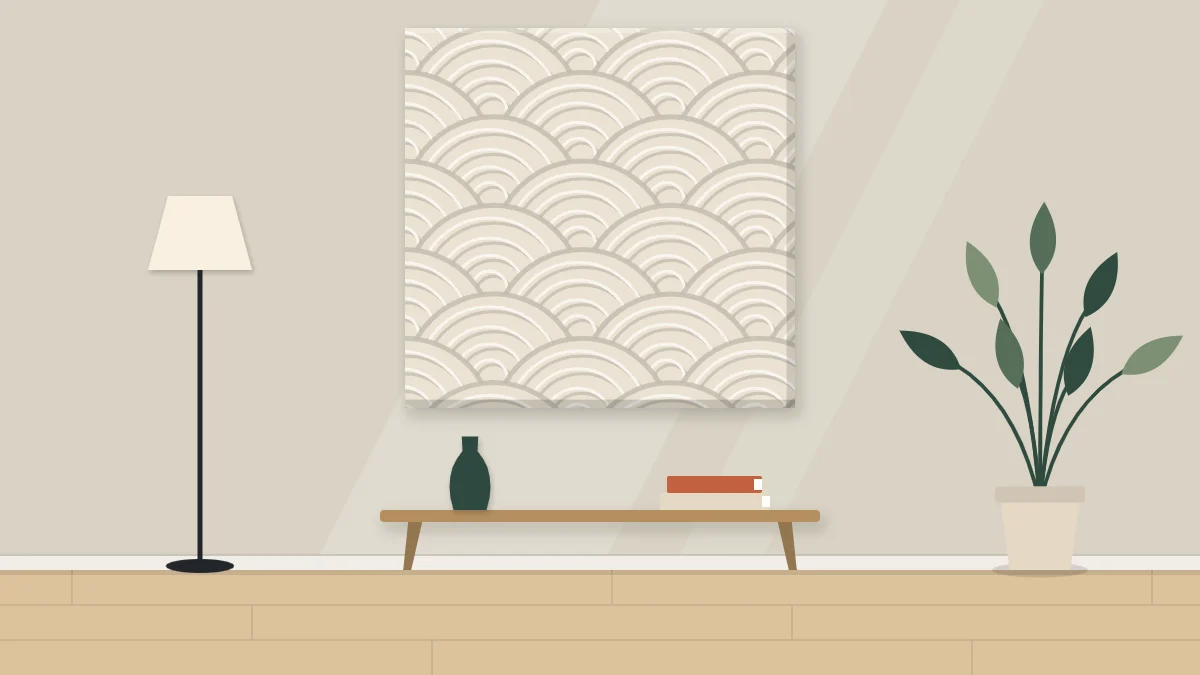
Spread a thin layer of modeling paste on a canvas panel, comb it into arcs with a notched card, let it dry fully and paint it one matte color so light and shadow form the design.
Tutorial at a glance
Materials
- Canvas panel or primed wood panel
- Modeling paste or lightweight filler
- Palette knife or plastic spreader
- Notched card cut from stiff plastic
- Matte acrylic paint in 1 color
- Soft flat brush
Textured canvas art relies on light instead of color. A thin layer of paste is spread over a canvas, combed into ridges, left to dry and painted a single matte shade. Once it is on the wall, the raised lines catch daylight on one side and throw a small shadow on the other, and the pattern shifts through the day.
The method is simple, but it has one firm limit: the layer has to stay thin. Thick paste is heavy, slow to dry and prone to cracking. Everything below is built around getting a clear pattern from as little material as possible.
Materials and surface
- A canvas panel (canvas glued to a rigid board) or a primed wood panel. The example is 12 x 16 in (30 x 40 cm).
- Modeling paste or a lightweight wall filler (spackle) in a tub.
- A palette knife or a flexible plastic spreader.
- A notched card: a piece of stiff plastic or thick cardstock with teeth cut into one edge.
- Matte acrylic paint in one color and a soft flat brush.
A rigid panel is the better choice for a first piece. Stretched canvas flexes when you press on it or carry it, and a dried layer of paste does not flex with it. If you do use stretched canvas, pick a small one and keep the layer especially thin.
Modeling paste is made for art surfaces. Lightweight filler is made for walls and is used here outside its intended purpose, so results vary between products. Whichever you choose, read the label for the maximum thickness per layer, ventilation and cleanup, and stay within what it says.
Cut a notched card
Cut a rectangle about 3 in (7.5 cm) wide from an old plastic card or thick cardstock. Along one edge, snip a row of small V-shaped or square notches with scissors. The teeth left between the notches are what draw the grooves.
Make two or three cards with different spacing: close teeth for fine lines, wide teeth for bold ridges. Test each one on a spare piece of cardboard spread with a little paste before you commit to the canvas.
Plan the pattern on paper
Paste gives you a limited working time, so decide on the pattern first. Sketch a few small rectangles and try your own arrangements:
- Straight combed lines, all in one direction or changing direction in bands.
- Overlapping arcs, like fish scales or rows of fans.
- Dabbed peaks, made by pressing the flat of the knife down and lifting it straight up.
- Smooth knife sweeps, with a ridge left at the edge of each pass.

Choose one pattern, or two at most with a clear boundary between them. Because the piece will be one color, the pattern is the whole composition. If you would like help arranging large simple areas, the composition exercises in abstract painting for beginners apply here as well.
Spread a thin layer
- Lay the panel flat on a covered table.
- Scoop a little paste onto the knife and spread it as if you were buttering toast, holding the blade at a low angle.
- Aim for an even layer about 1/8 in (3 mm) deep or less. You should not be able to bury the knife tip in it.
- Work in sections roughly the size of your hand if the pattern is detailed, or cover the whole panel for long combed lines.
- Scrape any excess back into the tub or onto scrap as you go.
Watch out
Thick layers are the main cause of cracking and they add real weight to the piece. If you want more height, let a thin layer dry fully and add a second thin layer on top, within the limits on the product label.
Comb arcs with the notched card
Hold the card almost upright with the teeth resting in the paste. For an arc, keep one corner of the card nearly still as a pivot and swing the other corner around it in a single smooth movement. For straight lines, pull the card toward you without stopping.

Start the arcs along the bottom edge and work upward, letting each new row overlap the top of the one below. Wipe the teeth on a paper towel after every pass, or the grooves will clog and smear.
If a section goes wrong, smooth it flat with the knife and comb it again while the paste is still soft. Once a skin begins to form on the surface, leave it alone. Reworking half-set paste tears it.
Let it dry fully
Leave the panel flat, away from direct heat, until the paste is dry all the way through. This often takes longer than expected. A thin layer may need roughly a day, and deeper ridges can take more, so treat any figure as approximate and check the label for your product.
The surface dries before the inside does. Paint applied too early can trap moisture and lead to cracks. When the paste is an even, pale color with no darker damp patches and feels hard instead of cool, it is usually ready. If sharp peaks bother you, knock them back lightly with fine sandpaper, and wipe away the dust.
Paint one matte color
Matte paint suits texture because it does not add glare to the ridges. Use a soft brush and thin coats, working the bristles into the grooves from more than one direction so that no bare paste shows from the side.
Two thin coats generally cover better than one heavy coat, and heavy paint fills the grooves you just made. Warm white, sand, clay and soft gray all show shadows clearly. Very dark colors hide them unless the light is strong. Paint the edges of the panel as well.
Looking after and hanging the piece
Dried paste is fairly brittle. Carry the panel by its edges, keep it flat or upright instead of bending it, and avoid stacking anything on the surface. Small cracks can appear over time, particularly on flexible surfaces, and can be filled and touched up with the same paint.
A textured panel weighs more than a plain one, so weigh it once it is finished. Then identify your wall material and choose hardware that its manufacturer rates for that weight and wall type, following the package instructions. How to hang lightweight wall art covers the process, and for an unfamiliar wall or a rental, check with the landlord or a professional first.
If you like the raised look but want something lighter, cardboard relief wall art gets a similar play of shadow from stacked shapes with no paste at all.
Frequently asked questions
Why did my textured canvas crack as it dried?
Cracks usually come from a layer that was applied too thickly, dried too fast near a heat source, or sat on a surface that flexed. Use a rigid panel, keep each layer thin, let it dry slowly at room temperature, and stay within the thickness given on the product label.
Can I use wall filler instead of modeling paste?
Many people use a lightweight filler because it is easy to find, but it is designed for walls, not artwork, and products behave differently. Test it on a spare board first, apply it thin, and read the label for layer thickness, drying and ventilation before using it on your panel.
Should I mix paint into the paste or paint over it?
Painting over dry paste is the simpler route and gives an even matte finish. Tinting the paste can work with some products, but it changes the consistency and the color often dries lighter. If you want to try it, check the label and test a small amount first.