Cardboard Relief Wall Art: Layered Shapes Painted One Color
Stack cut cardboard shapes on a board in two or three height levels, seal the edges, and paint everything one matte color so the shadows carry the design.
Tutorial at a glance
Materials
- Corrugated cardboard in two thicknesses
- Rigid base board
- Craft knife, metal ruler and cutting mat
- PVA glue
- Lightweight filler or paper tape
- Primer
- Matte acrylic paint in one color
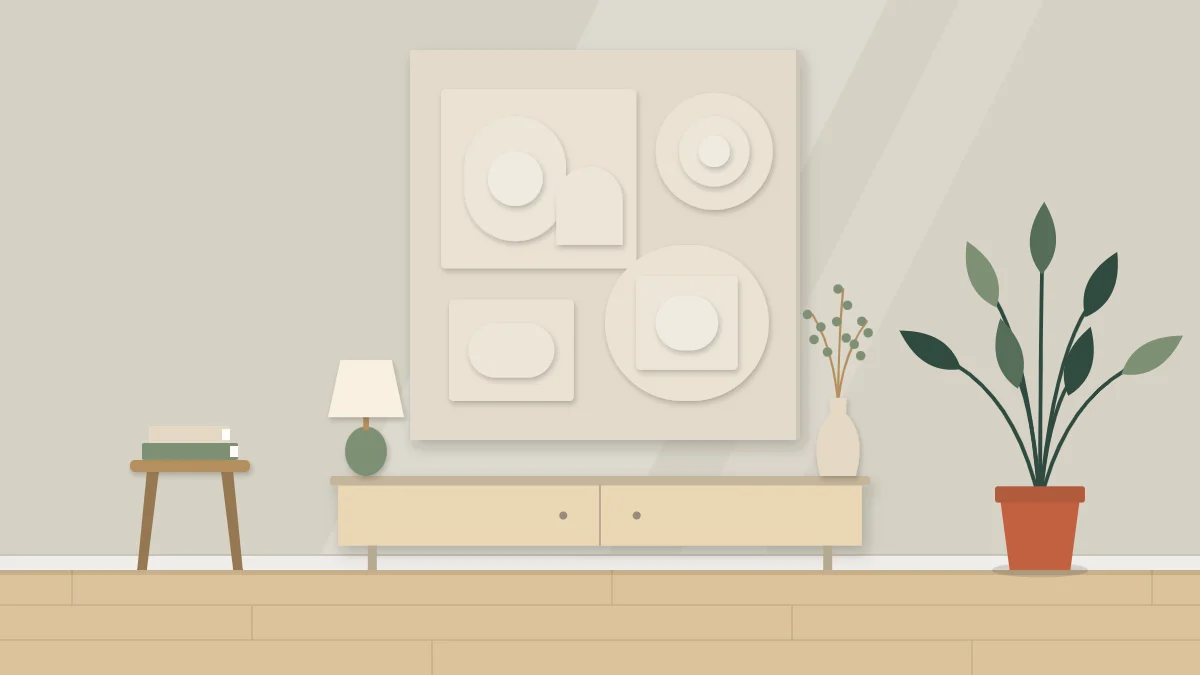
Cardboard relief wall art is one of the few projects where the cheapest material in the house produces something that reads as sculpture. You stack cut shapes of corrugated cardboard on a board, then paint everything a single matte color. Once the printing, tape marks and brown paper disappear under paint, what is left is form and shadow.
The method is simple, but two things decide whether the result looks deliberate: how you plan the height levels, and how cleanly you handle the cut edges. Both are covered below, along with priming and painting.
Why one color works so well
A relief is read through light. When every surface is the same color, the only contrast left is the shadow each layer casts on the one below it. The piece changes through the day as the light moves.
Matte paint matters here. A glossy finish catches highlights on every small dent and ridge, while a flat finish keeps attention on the big shapes. Pale colors show shadows most clearly; very dark colors flatten them, so save deep tones for rooms with strong side light.
What you need
- Clean corrugated cardboard, ideally in two thicknesses (single-wall and double-wall)
- A rigid base: a wood panel, thin plywood or dense mat board, about 12 x 12 in (30 x 30 cm)
- Craft knife with fresh blades, metal ruler and cutting mat
- PVA glue and a few heavy books for pressing
- Lightweight filler or paper tape for the cut edges
- Primer and matte acrylic paint in one color
- A flat brush and a small brush for edges
Choose cardboard that is flat and free of creases. A crease that looks minor on a brown box becomes a visible line once it is painted a pale color.
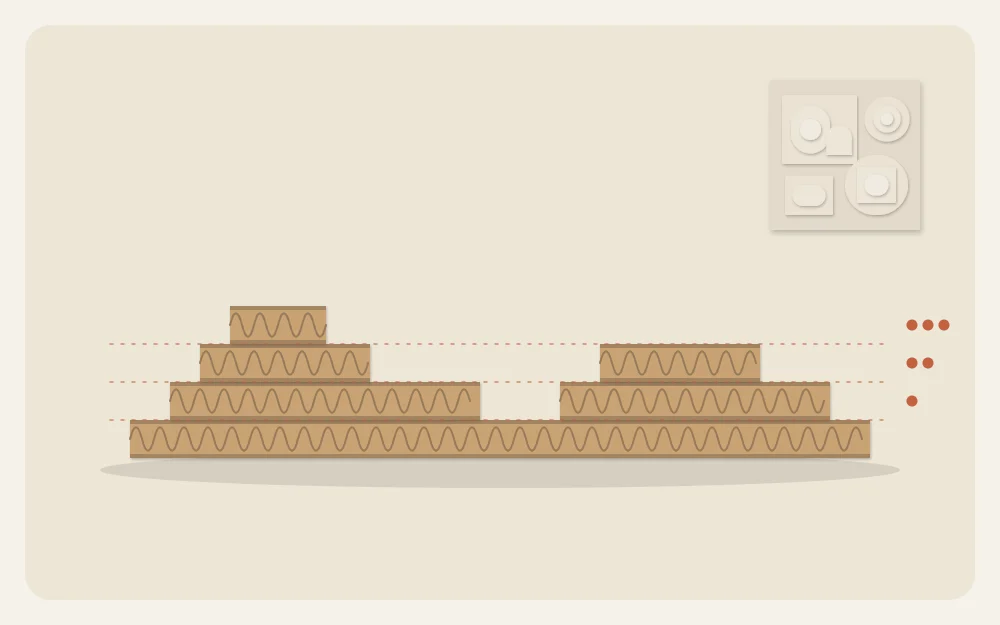
Plan two or three height levels
Sketch your composition on paper at a small scale before you cut anything. Draw your own arrangement from basic shapes: rectangles, half circles, rounded bars, a single large arch. Five to nine shapes is plenty for a square panel.
Then assign each shape a level:
- Level one sits directly on the base. Use your largest shapes here.
- Level two sits on top of level one. Use medium shapes that overlap the edges of what is beneath them.
- Level three is the highest point. Keep it to one or two small shapes so the eye has a place to land.
Shade the levels in your sketch with a pencil, darker for higher. If the dark patches cluster in one corner, move a shape. Leaving a clear margin of bare base around the group gives the shadows somewhere to fall.
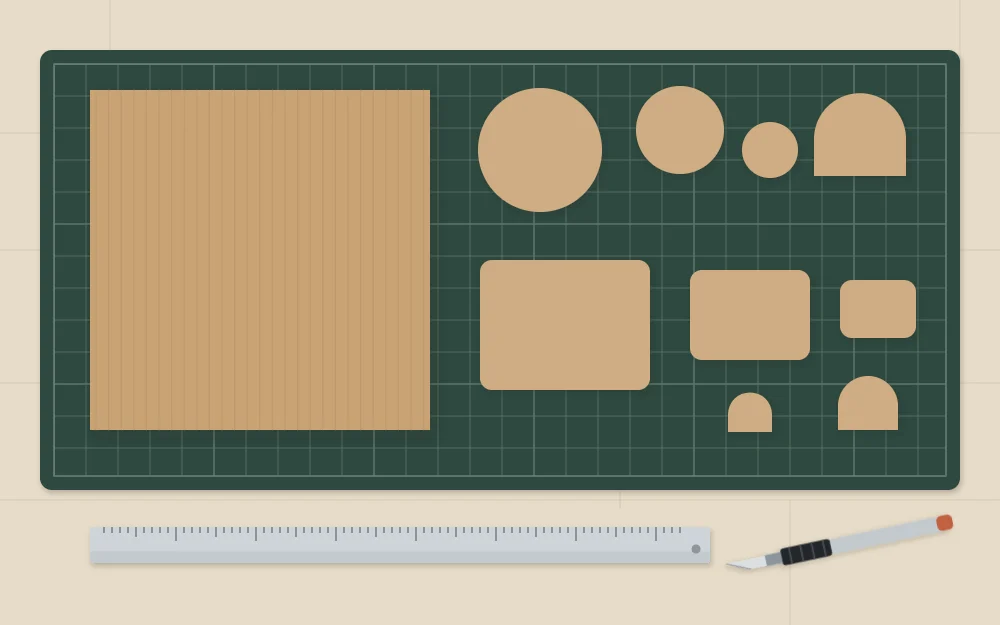
Cut clean edges
Corrugated cardboard tears when a blade is dull or when you try to cut through it in one pass. A fresh blade and patience solve both.
- Transfer each shape to the cardboard with a pencil. For curves, trace around a plate, a lid or a paper template you have drawn yourself.
- Hold the metal ruler firmly on the line and make a light first pass that only cuts the top paper layer.
- Make two or three more passes in the same groove until the blade is through. Cut away from the hand holding the ruler, on a cutting mat.
- For curves, cut freehand in short strokes and turn the cardboard rather than your wrist.
- Rub any fuzzy edges lightly with fine sandpaper wrapped around a block.
Seal the cut edges
The open flutes along each cut edge are what give cardboard away. You have two ways to deal with them, and both are acceptable looks.
Close them
Press a thin layer of lightweight filler into the flutes with a fingertip or a palette knife, let it dry according to the label, and sand it smooth. Alternatively, wrap each edge with a narrow strip of paper tape and burnish it down. Closed edges read as solid blocks.
Leave them open
Open flutes add a fine ribbed texture along every edge. If you choose this, keep it consistent across the whole panel and make sure paint reaches into the channels so no brown shows.
Tip
Test your edge treatment on an offcut and paint it before committing. Filler, tape and open flutes look very different once they are all one color.
Glue the layers
Dry-fit everything on the base and trace lightly around the level-one shapes so you can find their positions again. Spread a thin, even coat of PVA glue on the back of each piece, right to the edges, and press it down. Too much glue soaks in and warps the cardboard.
Work one level at a time. Cover the panel with a sheet of baking paper, weigh it down with books, and let it set before adding the next level. Wipe away any squeezed-out glue while it is wet, because dried beads show under paint.
Prime, then paint one matte color
Cardboard is absorbent, so primer does real work here: it seals the paper, hides the brown and stops the top coats from sinking in unevenly.
- Brush on a thin coat of primer, working it into the inside corners where layers meet. Thin coats reduce warping.
- Let it dry fully. Drying time varies with the product and the room, so check the label.
- Apply a second thin coat of primer if brown still shows through.
- Paint two coats of matte acrylic in your chosen color, using the small brush for edges and corners first, then the flat brush for the faces.
- Look at the panel under a lamp held to one side. Side light reveals missed spots and drips that overhead light hides.
Paint the sides of the base board too. If you would rather build texture with paste instead of layers, the approach in textured canvas art suits that better.
Hang it where light comes from the side
A relief looks best on a wall that receives light from a window or lamp at an angle. Straight-on light removes the shadows the piece depends on.
The finished panel is light, but do not guess. Weigh it, identify what your wall is made of, and choose hanging hardware or adhesive strips that the manufacturer rates for that weight and wall type, then follow the package instructions. The steps are laid out in how to hang lightweight wall art. In a rental, check your lease or ask the landlord before putting anything on the wall.
Keep the panel away from steamy rooms and direct damp, since cardboard softens with moisture. If you enjoy working with shadow in this way, folded paper geometric wall art uses the same idea with small paper units on a grid.
Frequently asked questions
Will the cardboard warp when it is painted?
It can if it gets too wet. Glue the shapes to a rigid base, spread glue thinly, press each level under books while it sets, and apply primer and paint in several thin coats rather than one heavy one. Letting each coat dry fully before the next, as the label describes, also helps.
Do the open flutes on the cut edges need to be filled?
No. Filling them with lightweight filler or covering them with paper tape gives a solid, block-like look, while leaving them open adds a fine ribbed texture. Either works as long as you treat every edge on the panel the same way and get paint into the channels.
What color is best for a relief panel?
Pale matte colors such as off-white, sand or soft gray show shadows most clearly, so the layers read from across the room. Mid tones work well in bright rooms. Very dark colors hide the shadows unless the wall receives strong light from one side.