How to Measure Your Wall and Choose the Right Art Size
Work out the right width, height and spacing for a piece before you make it, using common sizing rules of thumb, a worked sofa example and a painter's tape outline on the wall.
Most wall art that looks slightly wrong is the wrong size or at the wrong height, and both problems can be settled before you make anything. Learning how to measure for wall art takes a tape measure, a pencil, some painter’s tape and about fifteen minutes.
The figures below are common rules of thumb. They give you a sensible first position, and then your own room, ceiling height and furniture decide the final answer.
Measure the wall space you can actually use
The whole wall is rarely the space you are filling. Measure the open area instead: the stretch between a door frame and a corner, the gap between two windows, or the wall above a sofa up to the ceiling.
- Measure the width and height of the open area and write both down.
- Note anything that interrupts it: light switches, vents, thermostats, shelves, a lamp that stands in front.
- If furniture sits below, measure its width and the height of its top edge from the floor.
- Sketch the wall as a simple rectangle on paper and add the numbers. A rough drawing is enough.
Start with the width guideline
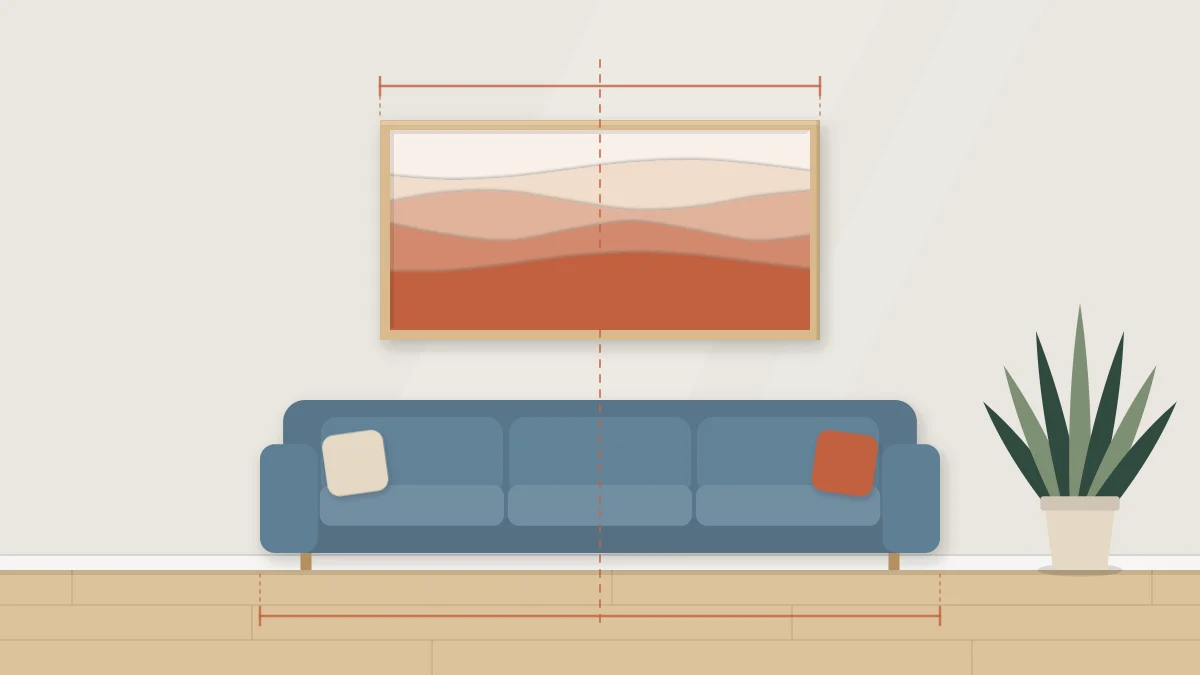
For art above furniture, a widely used starting point is a piece, or a group of pieces, about two-thirds to three-quarters the width of the furniture below. Art that is much narrower tends to look stranded; art wider than the furniture can look top-heavy.
On an empty wall with no furniture, a similar idea applies to the open area itself. Filling roughly half to three-quarters of the width usually leaves enough breathing room at the sides.
Narrow walls are the exception. A slim strip beside a door often suits one tall piece or a vertical stack, where height matters more than width.
Set the height from the center
Height is measured to the middle of the artwork. A widely used guideline puts the center of a piece around 57 to 60 in (145 to 152 cm) from the floor, which is close to standing eye level for many adults.
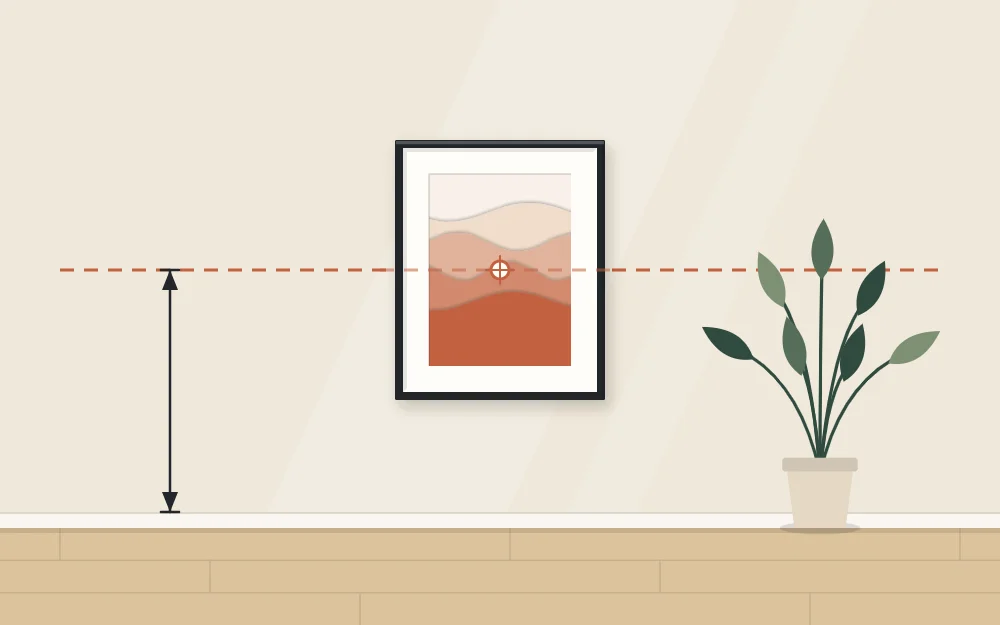
Adjust it freely. In a room where people mostly sit, such as a dining room or a reading corner, a slightly lower center often feels better. Under a very high ceiling, a little higher can work. If the household is taller or shorter than average, trust your own eye level.
Leave a gap above furniture
When art hangs over a sofa, bed, console or desk, the gap between the furniture and the bottom of the art matters more than the eye-level figure. A hand-width or so, roughly 6 to 8 in (15 to 20 cm), is a common starting point.
The aim is for the art and the furniture to read as one group. Too large a gap and the piece floats away; too small and it gets bumped by heads and cushions. Above a headboard or a low bench, check the height while sitting where a person would actually sit.
Tip
When the gap guideline and the eye-level guideline disagree, let the furniture win. A piece that relates to the sofa looks intentional even if its center is a little low.
Treat a group as one shape
A pair, a set of three or a whole cluster is measured as a single rectangle: from the left edge of the first piece to the right edge of the last, including the gaps between them. That outer rectangle follows the same width, height and gap guidelines as one large piece.
Gaps of about 2 to 3 in (5 to 8 cm) between pieces are a common choice. Keep them equal, and count them in your total width.
Splitting one design across panels is a practical way to reach a large size with small surfaces; see the guide to diptych and triptych wall art. For clusters of mixed sizes, the paper-template method in how to arrange a gallery wall handles the layout.
A worked example
Take a sofa 84 in (213 cm) wide with a back that reaches 34 in (86 cm) from the floor.
- Width. Two-thirds of 84 is 56 in (142 cm); three-quarters is 63 in (160 cm). The target width is somewhere in that range.
- Format. A single piece that wide is a big project. Three panels, each 16 in (41 cm) wide with 3 in (8 cm) gaps, total 54 in (137 cm), which is close enough.
- Gap. Starting 7 in (18 cm) above the sofa puts the bottom edge 41 in (104 cm) from the floor.
- Height. With panels 24 in (61 cm) tall, the center lands at 53 in (135 cm). That is lower than the eye-level guideline, and it is fine, because the group belongs to the sofa.
If the panels were only 12 in (30 cm) tall, the group would look like a thin stripe. Taller panels, or a slightly larger gap, would be worth testing.
Quick reference
| Decision | Starting point | Adjust when |
|---|---|---|
| Width above furniture | Two-thirds to three-quarters of the furniture width | The furniture is very small or very long |
| Center height | Around 57 to 60 in from the floor | The room is used seated, or ceilings are unusually high or low |
| Gap above furniture | About a hand-width | People lean back against the wall, or a headboard is tall |
| Gaps within a group | About 2 to 3 in | Pieces are very small or very large |
Test the size with a tape outline
Numbers only go so far. Before you cut paper or buy a canvas, mark the planned size on the wall with painter’s tape.
- Measure up from the floor to the planned bottom edge and make a light pencil mark.
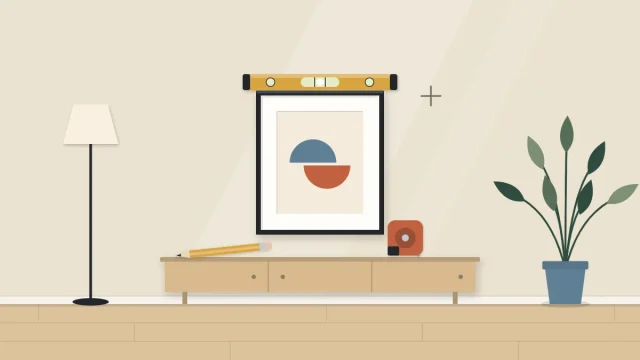
- Tape a rectangle the exact outer size of the piece or group, using a level for the top edge.
- Step back to the doorway, then sit where you normally sit, and look from both places.
- Leave it up for a day. Shift or resize the tape until it looks settled, then measure the outline and use those figures.
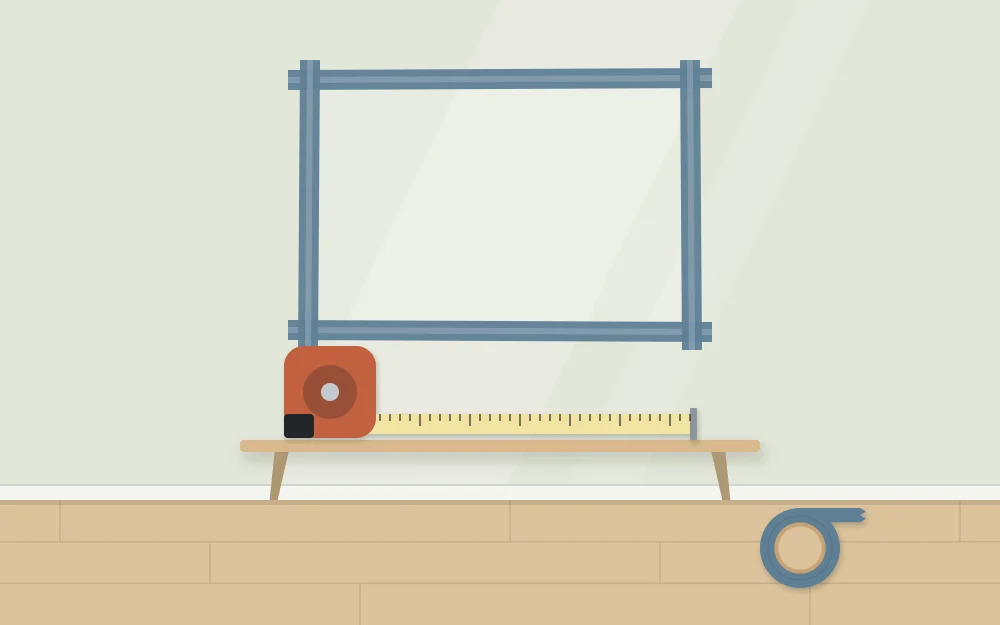
Press the tape lightly and remove it slowly; on fresh or delicate paint, test a hidden spot first.
Once the size and position are settled, the outline also tells you where the hanger goes. Choosing hardware is a separate job that depends on the weight of the piece, the wall material and the manufacturer’s rating; how to hang lightweight wall art walks through it.
Frequently asked questions
How wide should art be above a sofa?
A common starting point is about two-thirds to three-quarters of the sofa's width, measured across the whole piece or group including gaps. Treat it as a guide. Mark the size on the wall with painter's tape and adjust until it looks right with your furniture and ceiling height.
Is 57 inches the correct height for hanging art?
It is a widely used guideline for the center of a piece, based on typical standing eye level, and a reasonable place to begin on an empty wall. Above furniture, the gap between the furniture and the art usually matters more, so the center often ends up lower.
How do I measure for several pieces instead of one?
Add up the widths of all the pieces and the gaps between them to get one outer rectangle, then size and position that rectangle as if it were a single artwork. Keeping the gaps equal helps the group read as one shape from across the room.