How to Arrange a Gallery Wall With Paper Templates
Plan a gallery wall on the floor, trace each piece onto paper, mark the hanger points and tape the templates up, so the layout is settled before anything is hung.
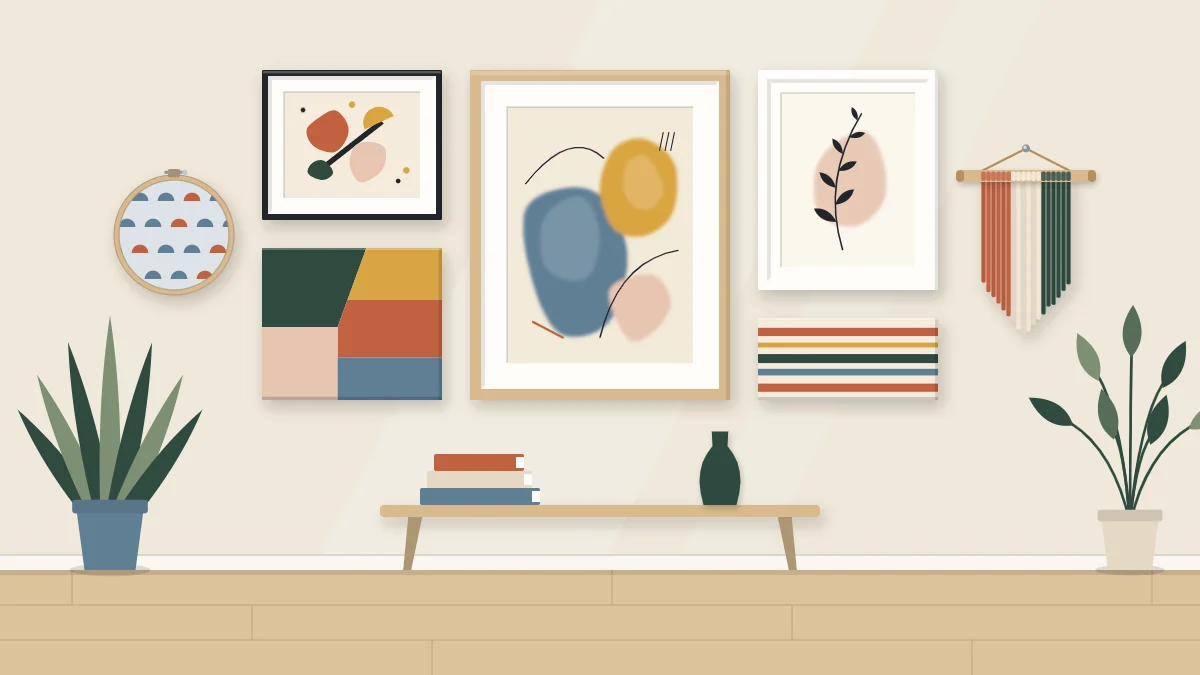
A gallery wall goes wrong in a predictable way: the first piece goes up by eye, the second is placed relative to the first, and by the fifth the gaps have drifted and the wall has a dozen spare holes. The fix for how to arrange a gallery wall is to make every decision on paper first, so that each piece is hung once.
The method uses plain paper templates, one per piece, taped to the wall and moved around until the arrangement works. It suits handmade collections especially well, because your pieces are rarely standard sizes.
Gather the pieces and pick an anchor
Collect everything that might go on the wall, including pieces you are unsure about. Five to nine is a comfortable number for a first arrangement; an odd count is easier to balance in a loose layout.
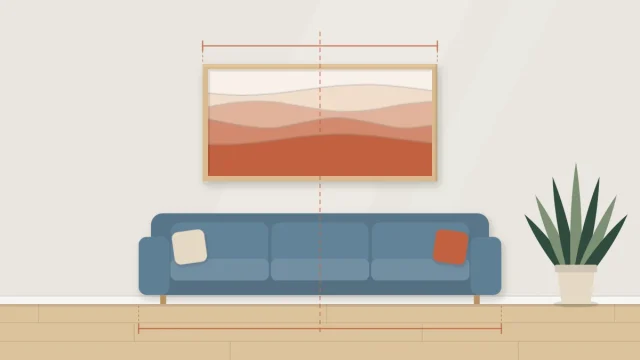
Choose one anchor piece. It is usually the largest or the strongest in color, and the rest of the group is arranged around it. Placing the anchor slightly off-center, with smaller pieces balancing it on the other side, tends to look more relaxed than putting it dead center.
Measure the wall area the group should fill before you go further. How to measure your wall and choose an art size explains the usual starting points, which apply to the outer shape of the whole group.
Decide between a grid and an organic layout
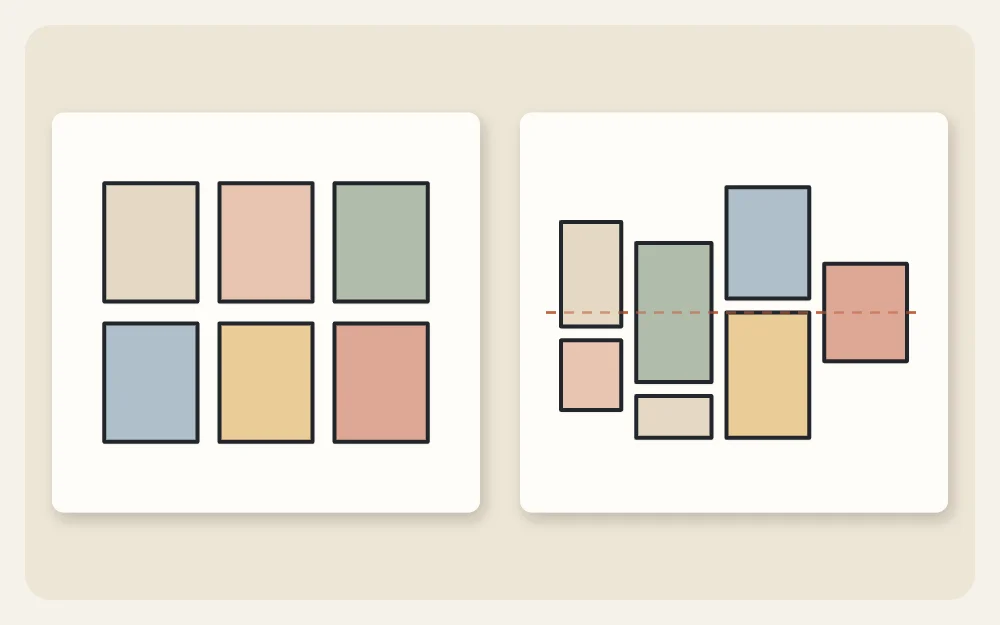
Grid
A grid uses pieces of the same size in rows and columns with identical gaps. It looks ordered and calm, and it suits a series: six small paintings in one palette, or a set of paper cuts in matching frames. It is also unforgiving, because any error in spacing shows.
Organic
An organic layout mixes sizes and orientations. It still needs structure, and the simplest structure is one line that several pieces share: a horizontal center line through the group, a common top edge, or a common bottom edge. Pieces above and below that line can vary freely.
An organic layout is easier to add to later, which matters if you keep making things.
Lay everything out on the floor first
Clear a patch of floor the size of the wall area and mark its outer edges with painter’s tape. Arrange the pieces inside it.
- Start with the anchor, then place the next largest pieces, and fill in with the smallest.
- Spread color and visual weight around. Two dark pieces side by side pull the eye to one corner.
- Alternate types. A yarn hanging beside a framed print beside a textured canvas reads better than all the frames on one side.
- Keep the gaps consistent. About 2 to 3 in (5 to 8 cm) is a common choice; smaller pieces can sit a little closer.
Stand on a chair, or take a picture from above, to see the arrangement as a whole. Rearrange until nothing nags at you, then take a final picture as your reference.
Trace each piece and mark its hanger point
Any plain paper works for templates: kraft paper, the back of wrapping paper, or newspaper.
- Lay a piece face down on the paper and trace around its outer edge. Cut out the shape.
- Write a short name on the template and draw an arrow pointing up.
- Find where the piece will actually hang from. For a hook or sawtooth hanger, measure from the top edge of the frame down to the hanging point and in from one side. For a wire, pull it taut toward the top and measure to its highest point.
- Transfer that point to the template and mark it with a clear cross.
Pieces with two hangers get two crosses. Irregular pieces, such as a hanging on a dowel, can be traced as a simple rectangle around their widest and tallest points.
Tape the templates to the wall and adjust
Tape the anchor template up first, using small pieces of painter’s tape, then build outward from it following your floor picture.
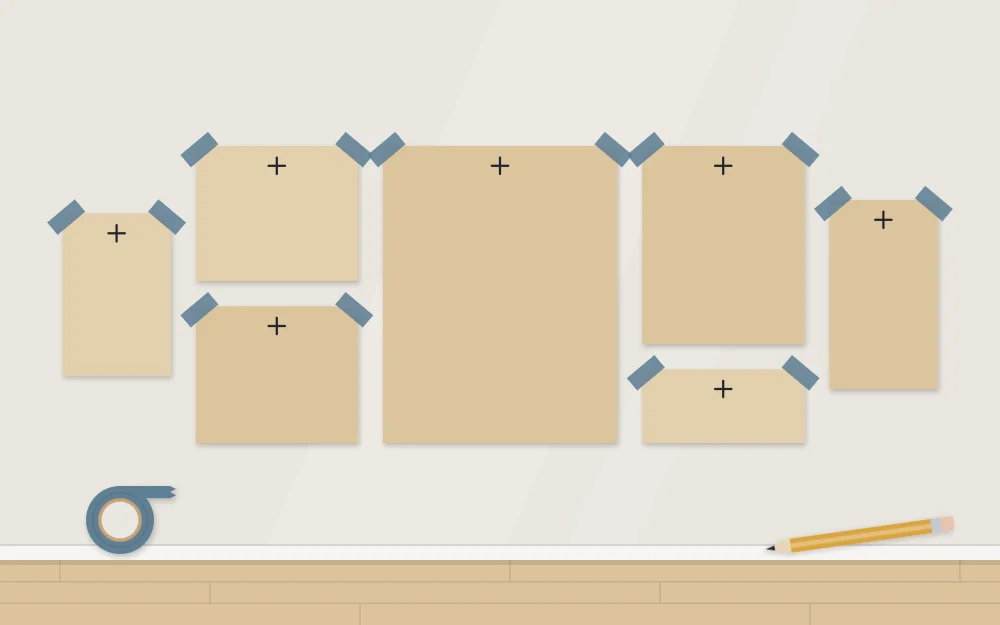
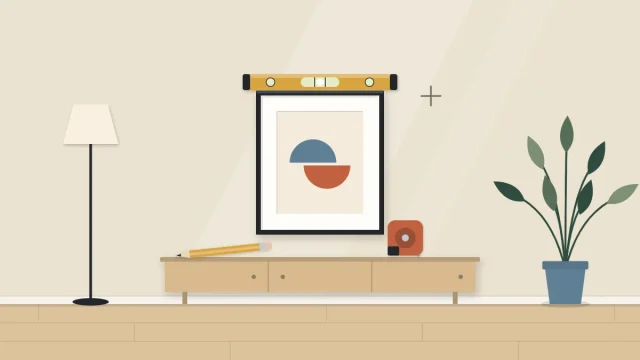
Use a level on the tops of the templates and a ruler, or a strip of card cut to your gap width, between them. A card spacer is faster than measuring each gap and keeps them identical.
Then live with it. Look from the doorway and from your usual seat, in daylight and in the evening. Moving a sheet of paper costs nothing, so shift, swap and remove templates until the group looks settled. Check that the outer edges form a reasonably tidy shape and that nothing collides with a switch or a door swing.
Tip
If the wall feels crowded, remove one template rather than shrinking every gap. A group with breathing room usually looks more deliberate than a full one.
Hang through the paper
The crosses on the templates are now your hardware positions. Before installing anything, choose fixings for each piece individually. Weigh each one, identify the wall material, and use hardware its manufacturer rates for that weight and wall type, installed as the package describes. Check for wires and pipes before making any hole, and ask your landlord first if you rent. The full method is in how to hang lightweight wall art.
- Install the fixing for the anchor piece directly through its cross.
- Tear the template away and hang the piece.
- Check it with a level, then move to the neighboring templates and work outward.
- Step back after every two or three pieces to confirm the gaps still look even.
Adhesive products usually need to go on the bare wall rather than through paper. In that case, mark the corners of the template lightly in pencil, remove it, and follow the package instructions.
Mix handmade pieces of different types
A wall of handmade work has more variety in depth and texture than a wall of prints, and that is its strength. A few habits keep it coherent.
- Repeat something. One color that appears in three or four pieces, or one frame finish used several times, ties different techniques together.
- Separate the deep pieces. Shadow boxes, relief work and fiber pieces stand out from the wall, so spread them across the group.
- Give unframed pieces a framed neighbor, which lends them an edge.
- Leave one or two positions that are easy to change. A slot planned for rotating work keeps the wall fresh; seasonal wall art swaps describes a system for it.
Frequently asked questions
How far apart should pieces be on a gallery wall?
A gap of about 2 to 3 inches between pieces is a common starting point, a little less for very small work. What matters more than the exact figure is consistency. Cut a card spacer to your chosen width and use it between every pair of templates.
Do all the frames on a gallery wall need to match?
No. A strict grid looks best with matching frames and sizes, but an organic layout can mix frames, canvases and fiber pieces. Repeating one element, such as a color or a frame finish, across several pieces is usually enough to make a varied group feel connected.
Where do I start when hanging a gallery wall?
Start with the anchor piece, usually the largest, once every paper template is taped up and the layout is settled. Hang it at its marked point, check it with a level, then work outward to its neighbors. Starting at one end tends to let small errors build up.