Layered Paper Wall Art: How to Build Depth With Cardstock
Cut five wavy cardstock layers, stack them from light to dark and lift each one on foam spacers so real shadows fall between them. Covers paper weight in gsm, clean curves, stacking order and frame depth.
Tutorial at a glance
Materials
- Cardstock in 5 tones, 200 to 300 gsm
- Double-sided foam spacers, 2 to 3 mm thick
- Sharp scissors
- Craft knife and cutting mat
- Pencil and scrap paper
- Shadow box or deep frame
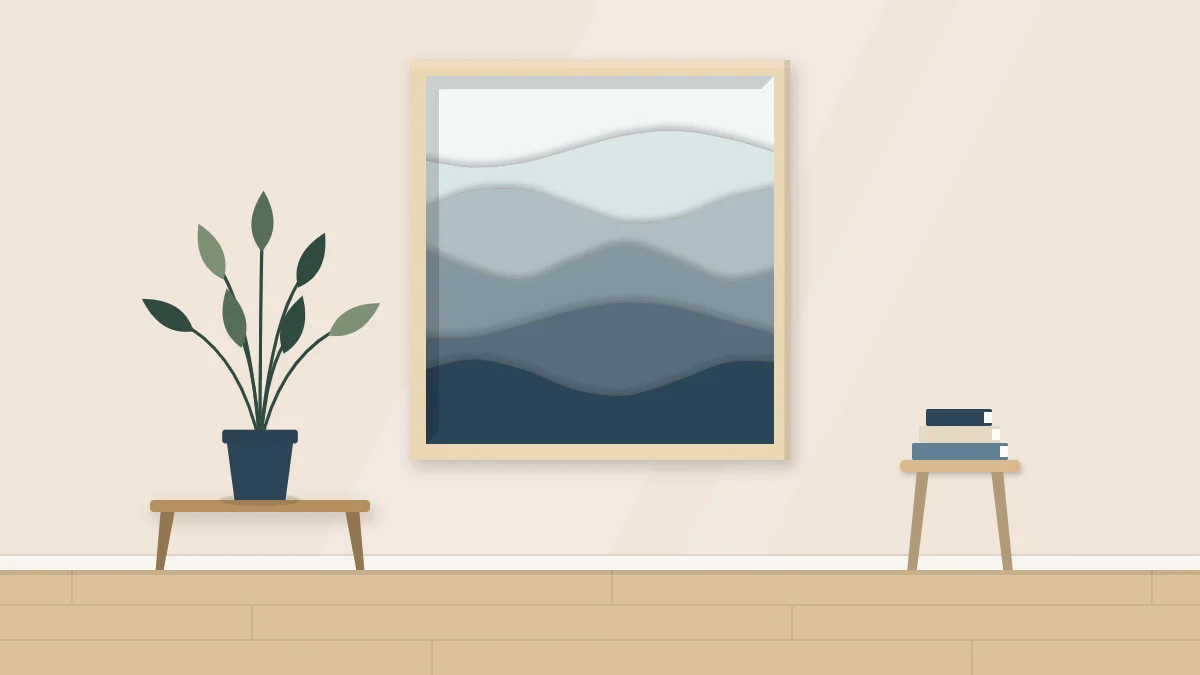
Layered paper wall art gets its effect from real shadows. Each sheet of cardstock sits slightly in front of the one behind it, so the piece changes as the light in the room moves. The technique is simple: cut a few shapes, stack them in order, and hold them apart with small foam spacers.
This project uses five layers of rolling hill shapes that step from light to dark. The curves are your own, drawn freehand, so no two versions come out alike.
Choose cardstock by weight and tone
Paper weight matters more here than in flat paper projects, because each layer has to stay rigid across its unsupported edge. Cardstock of about 200 to 300 gsm works well. Thinner paper sags between spacers; much thicker board is hard to cut in smooth curves.
For color, pick five tones of one hue that step evenly from pale to deep, or a run that drifts slightly, such as cream through sand to a deep rust. Lay the sheets side by side and squint. If two of them blur together, replace one, because layers that are too close in tone will hide the depth you are building. The DIY wall art supplies guide has more on paper types and cutting tools.
Plan the layers on scrap paper first
Every layer is a full rectangle with a wavy top edge. The back layer is the tallest and each one in front is shorter, so a band of every color stays visible.
- Decide the finished size. The example is 8 x 10 in (20 x 25 cm), which suits a standard deep frame.
- Cut one sheet to that full size for the background. This is your lightest tone, or a neutral sky.
- Cut the remaining sheets to the same width.
- On scrap paper, sketch four or five wavy lines stacked down the page. Vary them: one long gentle swell, one with two peaks, one that rises to the left, one to the right.
- Check that the lines never run parallel for long. Where a peak on one layer sits above a dip on the next, the shadow is strongest.

Cut curves cleanly
Draw each curve lightly in pencil on the back of its sheet so no marks show on the front. Remember the line is mirrored when you flip the sheet over.
Scissors and a craft knife both work, and they suit different curves:
- Scissors: best for long, sweeping curves. Use the full length of the blades and turn the paper, not the scissors. Short snips leave small corners along the edge.
- Craft knife: best for tighter dips. Work on a cutting mat, cut away from your hand, and pull the blade in one steady pass. Rotate the paper so your arm always moves in a comfortable arc.
A fresh blade makes more difference than anything else. A dull one drags and leaves a fuzzy edge that catches the light. If an edge comes out slightly rough, smooth it with a fine nail file or the back of a spoon rather than recutting.
Stack in order, back to front
Dry-stack all the layers before any adhesive goes on. Align the bottom and side edges and look at the piece from a normal viewing distance.
The usual order is lightest at the back and darkest at the front, which reads as distance: far hills pale, near hills deep. Reversing it gives a different, more graphic mood and is worth a look while everything is still loose. Adjust until each band is at least a finger-width tall at its narrowest point. Trim any curve that hides the layer behind it.
Number the layers lightly on the back so they go together in the same order.
Place foam spacers for shadow
Spacers are small squares of double-sided foam, about 1/16 to 1/8 in (2 to 3 mm) thick. They lift each layer off the one behind and create the shadow line. If you only have foam sheet, cut small squares and glue both faces with PVA.
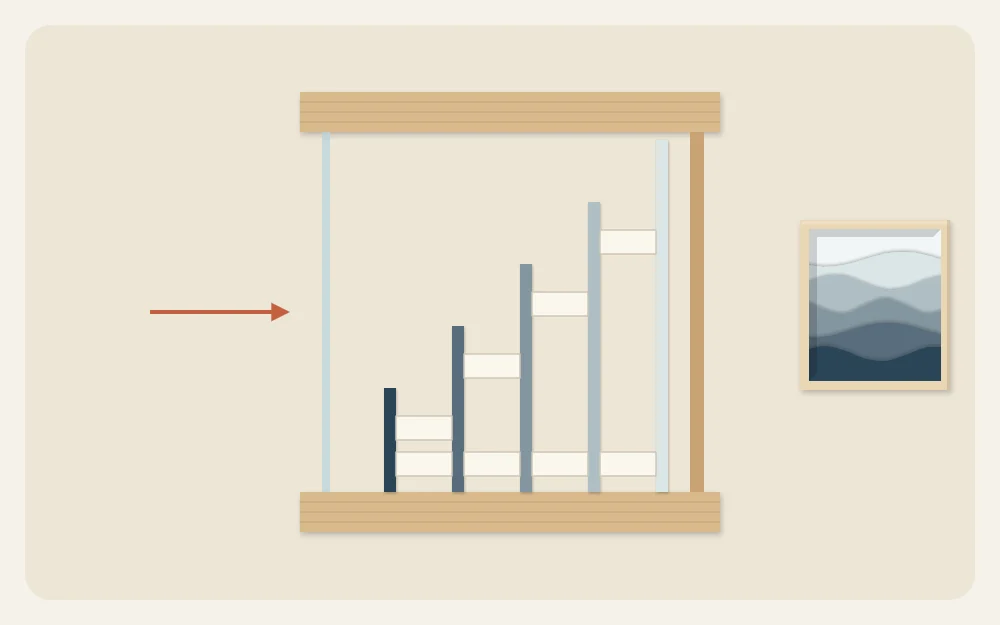
- Turn the second layer face down. Stick spacers along the bottom edge and up both sides, roughly every 2 in (5 cm).
- Add a few spacers in the body of the layer, keeping them at least 3/8 in (1 cm) below the wavy edge so they stay hidden.
- Put one spacer under each peak. Peaks are where the paper is least supported and most likely to droop.
- Peel the backing, line up the bottom corners with the background sheet, and press down gently over each spacer.
- Repeat for every layer, working toward the front.
Tip
For stronger shadows at the front, double the spacers under the last one or two layers. Uneven gaps look more natural than identical ones.
Check the depth before you frame it
Five layers on spacers add up. Measure the finished stack at its thickest point, then compare it with the space between the glass and the backing board of your frame. A shadow box or deep-rebate frame is usually needed. A standard flat frame will crush the layers against the glass and flatten the shadows.
If your frame is slightly too shallow, you have three options: remove the glass, use thinner spacers, or drop to four layers. The article on framing craft wall art walks through mats, spacers and frame depth in more detail.
When you hang the frame, weigh the finished piece, identify your wall material, and choose hanging hardware that its manufacturer rates for that weight and wall type. Follow the instructions on the package.
Light it and take it further
Layered paper looks best with light coming from one side or from above, which throws each shadow in the same direction. Try the frame on a few walls at different times of day before deciding where it goes. Flat, head-on light flattens the effect.
Once the basic stack makes sense, the same method opens up other shapes: concentric rings, overlapping arches, or a cut window that reveals the layers behind it. If you like crisp edges and repeated forms more than soft curves, folded paper geometric wall art builds depth with creases instead of spacers.
Frequently asked questions
What paper weight is best for layered paper art?
Cardstock between about 200 and 300 gsm is a good range. It is stiff enough to hold a curved edge without sagging between spacers, yet still easy to cut with scissors or a craft knife. Lighter printer paper tends to droop, and heavy board is difficult to cut into smooth curves.
Can I make layered paper art without foam spacers?
Yes. Small squares cut from foam sheet, corrugated cardboard or a few stacked scraps of cardstock all work when glued on both faces. The aim is an even gap of a couple of millimeters between layers. Keep homemade spacers back from the cut edge so they stay out of sight.
Do I need a shadow box frame for layered paper?
Usually, yes. Measure the full thickness of your stack and compare it with the depth inside the frame. A standard flat frame presses the layers against the glass and removes the shadows. A deep frame, or a regular frame used without glass, leaves room for the layers to stand apart.