Geometric Triangle Wall Art: Planning a Repeating Pattern
Draw a pencil grid, add one diagonal per square, and plan three or four colors on a thumbnail so no matching triangles touch. Then paint the pattern or fill it with cut paper.
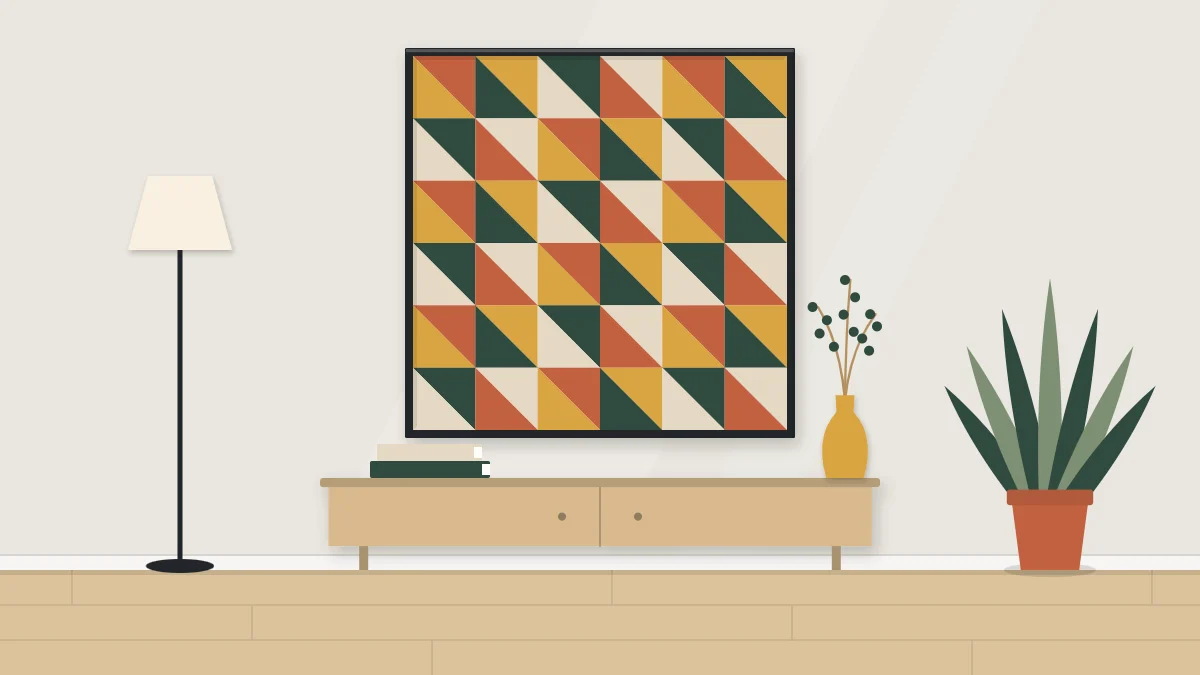
Tutorial at a glance
Materials
- Square canvas, panel or 300 gsm paper
- Ruler, hard pencil and eraser
- Acrylic paint in 3 or 4 colors
- Painter's tape
- Flat brush
- Colored paper and glue stick (paper version)
Geometric wall art built from triangles looks intricate, but it comes from two very plain steps: a pencil grid of squares, and one diagonal line through each square. Everything after that is a color decision.
That decision is where most of the planning goes. With three or four colors and one rule, that no two triangles of the same color share an edge, a simple grid turns into a pattern that looks considered from across the room. Working it out on a small sketch first saves repainting later.
What you need
- A square surface: a canvas, wood panel or heavy paper of about 300 gsm, for example 12 x 12 in (30 x 30 cm)
- Ruler, sharp hard pencil and eraser
- Three or four colors of acrylic paint, or colored paper of about 120 gsm
- Painter’s tape and a flat brush, or a craft knife, cutting mat and glue stick
- Scrap paper and colored pencils for the plan
Set up the grid
Pick a cell size that divides evenly into your surface. On a 12 in (30 cm) square, cells of 3 in (7.5 cm) give four rows of four: sixteen squares and thirty-two triangles. That is enough for a pattern to repeat without becoming fiddly. Smaller cells give a finer, busier result and take longer.
- Measure and mark the cell width along the top and bottom edges, then along both sides.
- Join the opposite marks with light pencil lines to make the squares.
- Check a few cells with the ruler. If one row is narrower than the rest, redraw it now.
Keep the pencil lines faint. They will be covered by paint or paper, but heavy graphite can smear into pale colors.
Draw the diagonals
Each square gets one diagonal, corner to corner. The direction you choose sets the character of the whole pattern.
| Diagonal layout | Effect |
|---|---|
| All in the same direction | A steady slanted rhythm, like sails in a row |
| Alternating from cell to cell | Diamonds and larger triangles that span several cells |
| Mirrored around the center | A pattern that radiates outward from the middle |
Try all three on scrap paper before you commit. They use the same grid and look entirely different.
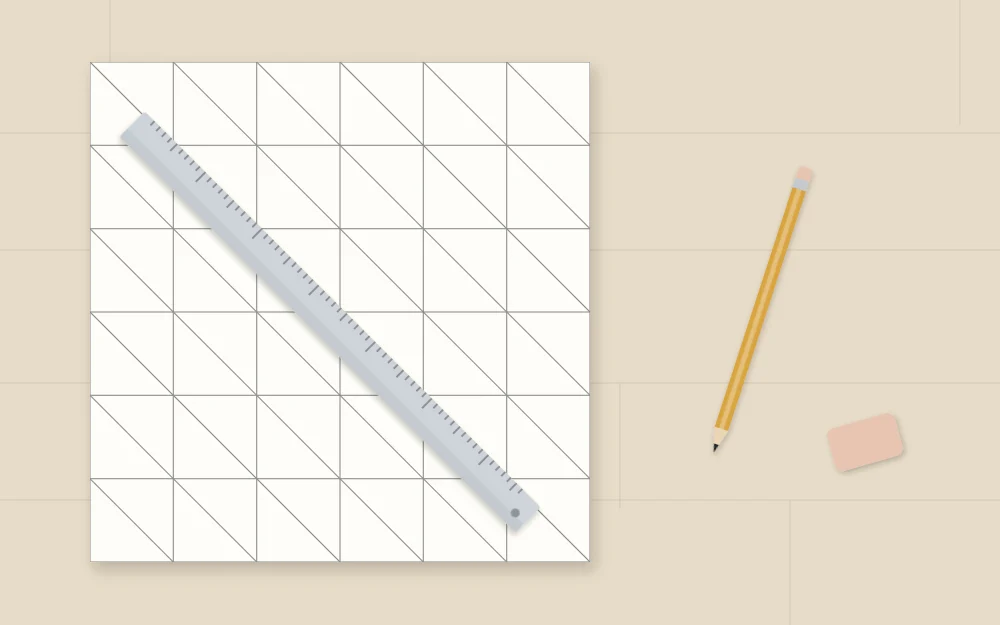
Plan the colors on a small sketch
Draw the same grid at thumbnail size, roughly 4 in (10 cm) across, and make a few copies. This is where you solve the pattern.
Choose three or four colors
A workable set is one dark, one light, and one or two mid tones. Clear differences in value keep the triangles readable from a distance; colors that are too close in tone merge into a flat field. For help building a set, the palette advice in color block painting applies directly.
Apply the no-touching rule
Two triangles “touch” when they share a full edge. Meeting at a point is fine. Fill the sketch one row at a time:
- Color the first triangle in the top-left cell.
- Give its partner in the same cell a different color.
- Move to the next cell. Check the triangle beside it and the one above before choosing.
- Continue across the row, then down, always checking the neighbors that are already colored.
Four colors make this easy, since every triangle has only three edges. Three colors also work but need more backtracking.
Decide between a repeat and a scatter
Once the rule is satisfied you have a second choice. A strict repeat uses the same color order in every cell or every pair of cells, which gives a calm, textile-like result. A scatter keeps the rule but varies the order, which feels livelier. Either way, count how many triangles each color gets. Roughly equal counts read as even pattern; letting one color take about half the triangles gives the piece a dominant mood. The balance ideas in wall art composition basics are useful here.
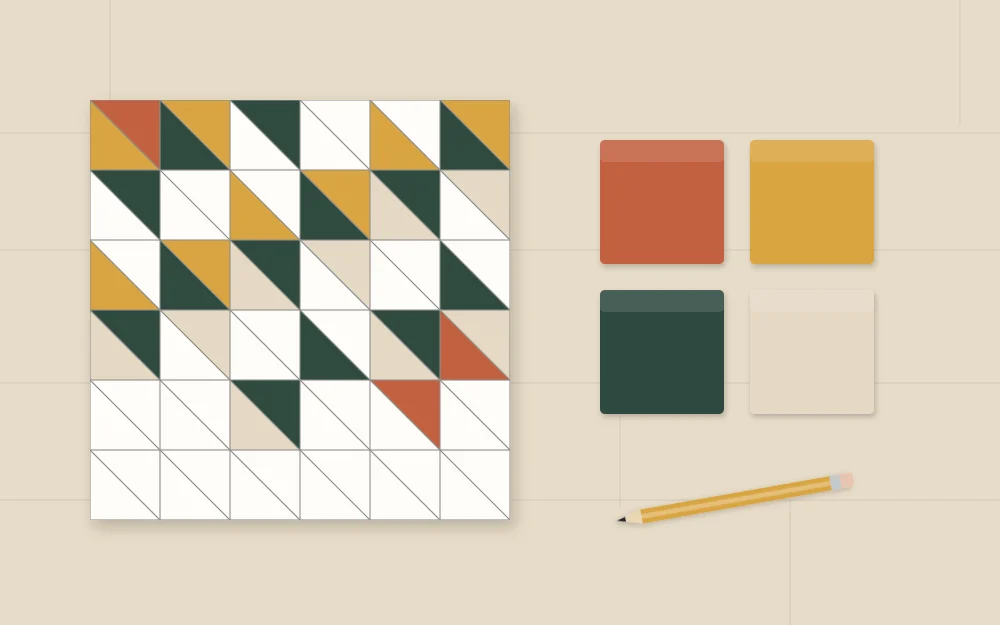
Tip
Mark each triangle on the real surface with a tiny pencil dot code, one dot for the first color, two for the second, and so on. It prevents filling the wrong triangle halfway through.
Option one: paint the triangles
Painting gives a flat, seamless surface. Because neighboring triangles share edges, you cannot tape them all at once, so work one color at a time.
- Tape around every triangle of the first color, pressing the tape edges down firmly.
- Paint those triangles with two thin coats, brushing from the tape toward the center of the shape.
- Peel the tape back slowly at a low angle while the last coat is still slightly damp.
- Let the paint dry fully before taping over it for the next color. Drying times vary, so check the label, and allow extra time in a cool or humid room.
- Repeat for each color, lightest to darkest.
Small gaps or overlaps along a line can be touched up with a fine brush at the end.
Option two: fill with paper triangles
Cut paper is faster and has no drying time between colors. Cut squares the exact size of your cells, then cut each one in half along the diagonal against a ruler. Cut away from the hand holding the ruler, on a cutting mat.
Lay all the triangles in place dry, following your sketch, before gluing any. Then lift one at a time, apply glue stick right to the points, and press it down against its pencil lines. Start from the center and work outward so small errors do not pile up at one edge.
You can butt the triangles tightly together, or trim a sliver off each one so a thin line of the background shows between them like grout. If you choose the gap, keep it consistent.
Finish and display
Erase any visible pencil once everything is dry. A paper version looks best in a frame; a canvas or panel can hang as it is, with the edges painted in one of your colors.
To hang it, weigh the finished piece, check your wall type, and use hardware that the manufacturer rates for both, following the package instructions.
The same grid method extends to other shapes. If straight lines feel too strict for the room, arches and circles bring curves into the same kind of planned, geometric composition.
Frequently asked questions
How many colors do I need for a triangle pattern?
Three or four is the practical range. Four makes it simple to keep matching colors apart, because each triangle only has three neighbors along its edges. Three colors can work with more trial and error on the sketch. More than five tends to look scattered on a small piece.
Is it easier to paint the triangles or use paper?
Paper is quicker and more forgiving, since you can lay every triangle out dry and rearrange before gluing. Paint gives a seamless surface on canvas or wood but has to be done one color at a time, with each color fully dry before taping over it.
What grid size should I use?
Choose a cell that divides evenly into your surface and gives at least four cells per side. On a 12 inch square, 3 inch cells are comfortable for a first piece. Halving the cell size quadruples the number of triangles, so finer grids take noticeably longer to fill.